Tag: pandas
-
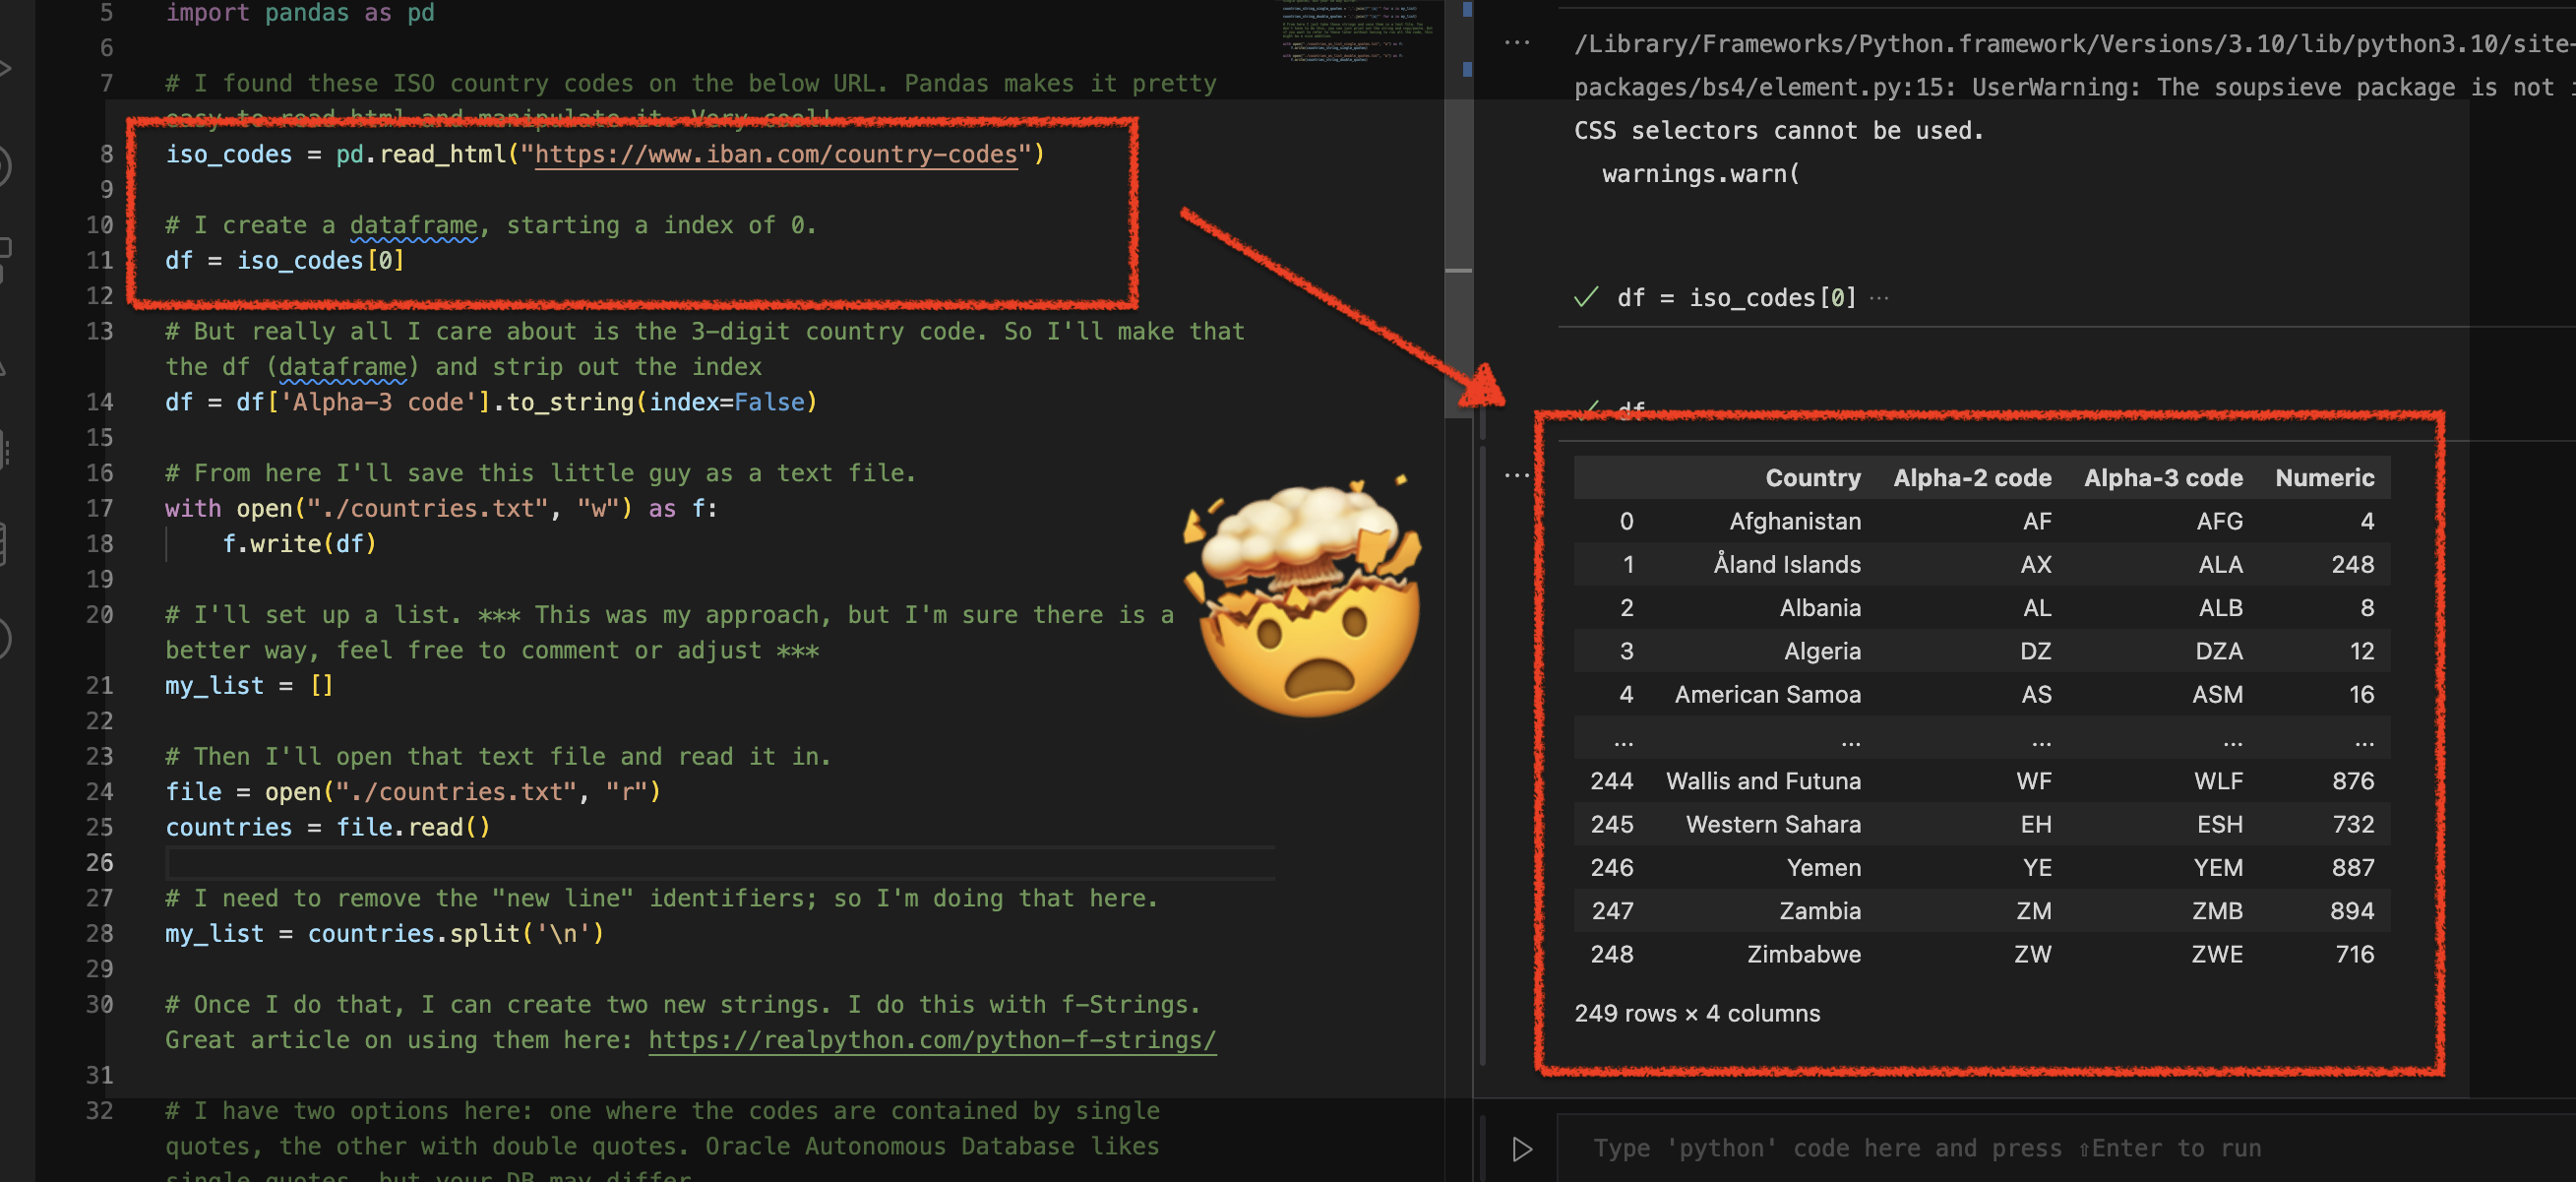
Using Python Pandas to turn ISO Country Codes into a string to use as values for a SQL Query
Summary, code, resources Problem While querying a table (based on this dataset) with SQL, you realize one of your columns uses 3-character ISO Country Codes. However, some of these 3-character codes aren’t countries but geographical regions or groups of countries, in addition to the actual country codes. How can you filter out rows so you are left…
Written by
-
More fun with Medium story stats, JSON, Python, Pandas, and Oracle SQL Developer Web
That’s right; I’m back again for yet another installment of this ongoing series dedicated to working with Medium.com story stats. I first introduced this topic in a previous post. Maybe you saw it. If not, you can find it here. Recap My end goal was to gather all story stats from my Medium account and…
Written by
-
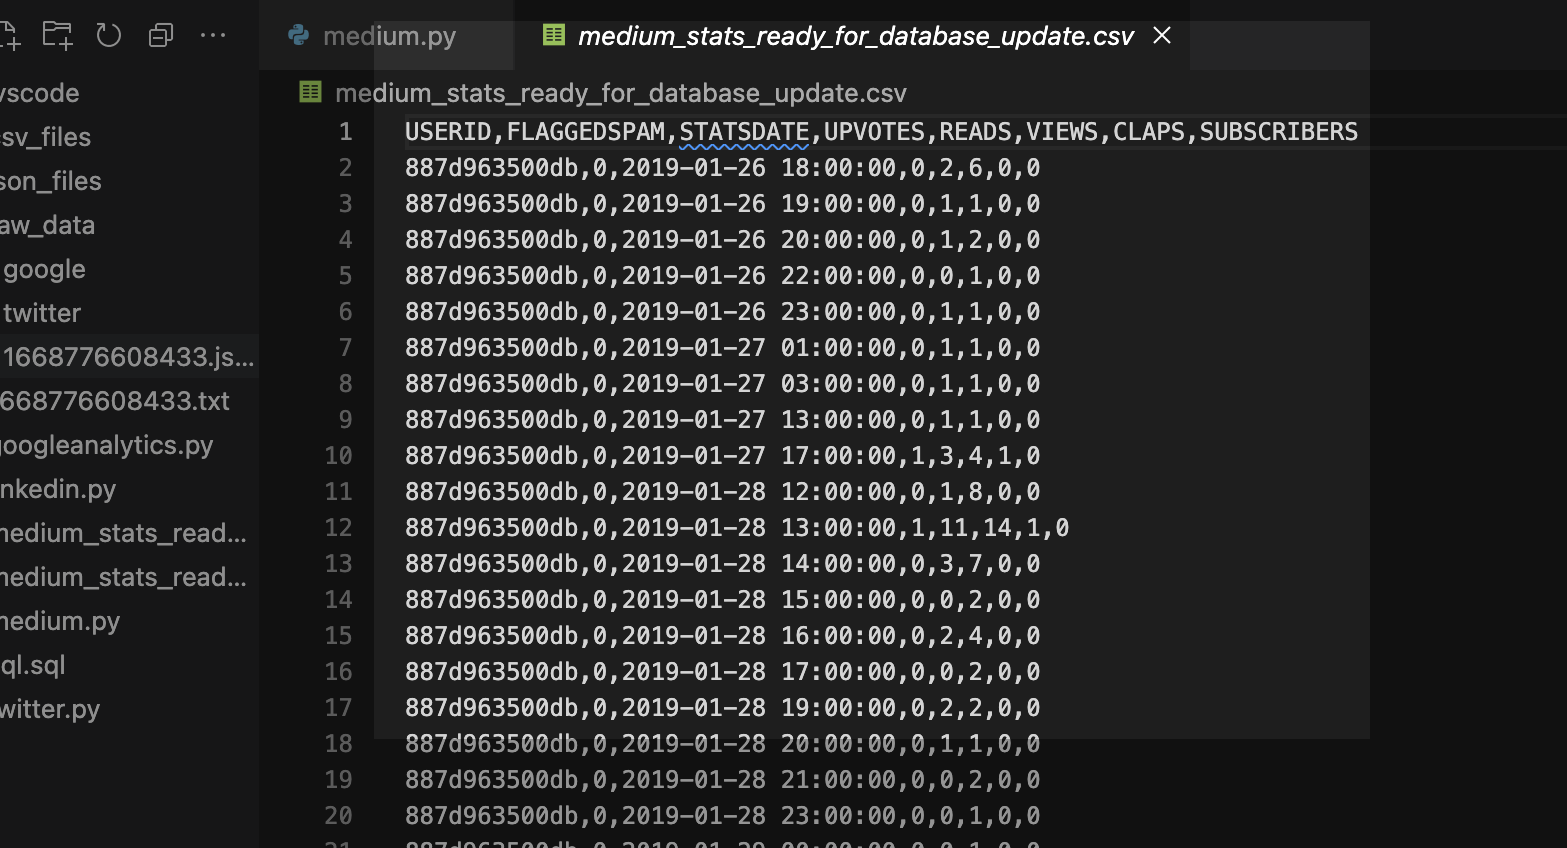
Clean up a .CSV file with Regular Expressions, Pandas, and Python
I want to load data via Database Actions in my Oracle Autonomous Database, but first I need to clean up some Dates and Times. Python is my language of choice, and I’ve heard about Regular Expressions, but I’m scared…
Written by
