That’s right; I’m back again for yet another installment of this ongoing series dedicated to working with Medium.com story stats. I first introduced this topic in a previous post. Maybe you saw it. If not, you can find it here.
Recap
My end goal was to gather all story stats from my Medium account and place them into my Autonomous Database. I wanted to practice my SQL and see if I could derive insights from the data. Unfortunately, gathering said data is complicated.
Pulling the data down was a breeze once I figured out where to look for these story statistics. I had to decipher what I was looking at in the Medium REST API (I suppose that was somewhat tricky). My search was mostly an exercise in patience (there was a lot of trial and error).
I uploaded a quick video in the previous post. But I’ll embed it here so you can see the process for how I found the specific JSON payload.
Obtaining the raw JSON
Once I found that URL, I saved this JSON as a .json file. The images below show remnants of a JavaScript function captured with the rest of the JSON. I’m no JavaScript expert, so I can’t tell what this function does. But before I load this into my Autonomous Database (I’m using an OCI Free Tier account, you can check it out here if you are curious), it needs to go.

JSON response error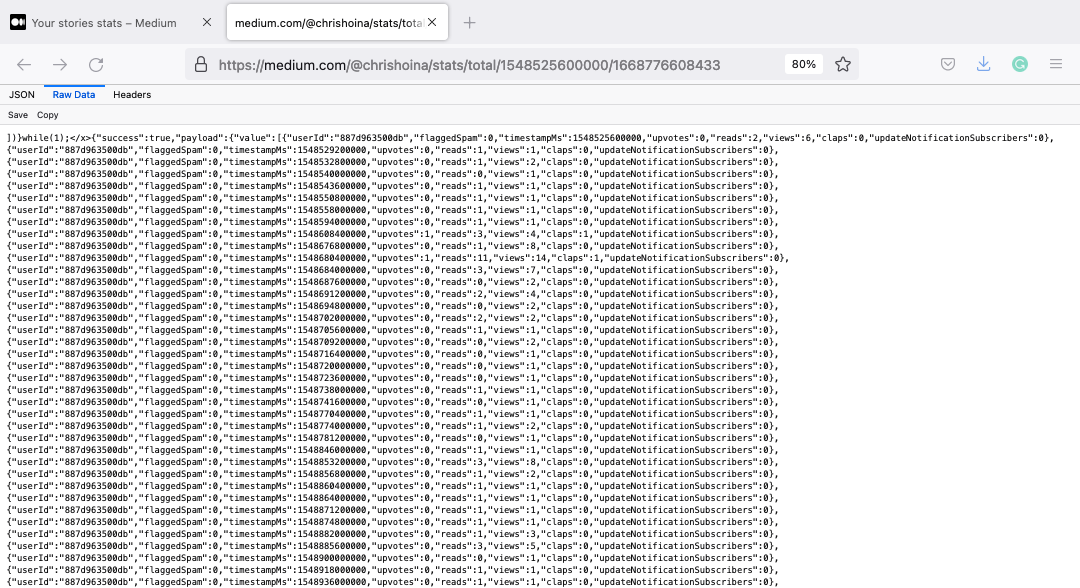
JSON presentationREADME
I am pointing out a few things that may seem convoluted and unnecessary here. Please take the time to read this section so you can better understand my madness.

FIRST: Yes, you can manually remove the [presumably] JavaScript saved along with the primary JSON payload (see above paragraphs). I'm showing how to do this in Python as a practical exercise. But I'm also leaving open the opportunity for future automation (as it pertains to cleaning data).

SECOND: When it comes to the Pandas data frame steps, of course, you could do all this in Excel, Numbers, or Sheets! Again, the idea here is to show you how I can clean and process this in Python. Sometimes doing things like this in Excel, Numbers, and Sheets is impossible (thinking about enterprise security here).

THIRD: Admittedly, the date-time conversion is hilarious and convoluted. Of course, I could do this in a spreadsheet application. That's not the point. I was showing the function practically and setting myself up for potential future automation.

FOURTH: I'll be the first to admit that the JSON > TXT > JSON > CSV file conversion is comical. So if you have any suggestions, leave a comment here or on my GitHub repository (I'll link below), and I'll attribute you!
The code
Explaining the code in context, with embedded comments, will be most illuminating.
I’ve named everything in the code as literally as possible. In production, this feels like it might be impractical; however, there is no question about what the hell the code is doing! Being more literal is ideal for debugging and code maintenance.
Here is the entire code block (so CTRL+C/CTRL+V to your heart’s content 😘). I’ll still break this down into discrete sections and review them.
import csv
import json
import pandas as pd
import datetime
from pathlib import Path

# You'll first need to sign in to your account, then you can access this URL without issues:
# https://medium.com/@chrishoina/stats/total/1548525600000/1668776608433
# NOTES:
# Replace the "@chrishoina" with your username
# The two numbers you see are Unix Epochs; you can modify those as # needed; in my case, I
# wanted to see the following:
# * 1548525600000 - At the time of this post, this seems to be
# whenever your first post was published or when
# you first created a Medium account. In this case, for me, this
# was Sat, Jan/26/2019, 6:00:00PM - GMT
# * 1665670606216 - You shouldn't need to change this since it will # just default to the current date.

# For the conversion, I an Epoch Converter tool I found online: https://www.epochconverter.com/

# Step 1 - Convert this to a,(.txt) file
p = Path("/Users/choina/Documents/socialstats/1668776608433.json")
p.rename(p.with_suffix('.txt'))

# Step 2 - "read" in that text file, and remove those pesky
# characters/artifacts from position 0 through position 15.
# I'm only retaining the JSON payload from position 16 onward.

with open("/Users/choina/Documents/socialstats/1668776608433.txt", "r") as f:
stats_in_text_file_format = f.read()

# This [16:] essentially means grabbing everything in this range. Since
# there is nothing after the colon; it will just default to the end (which is
# what I want in this case).

cleansed_stats_from_txt_file = stats_in_text_file_format[16:]

print(cleansed_stats_from_txt_file)

# This took me a day to figure out, but this text file needs to be encoded
# properly, so I can save it as a JSON file (which is about to happen). I
# always need to remember this, but I know that the json.dumps = dump
# string, which json.dump = dump object. There is a difference, I'm not
# the expert, but the docs were helpful.

json.dumps(cleansed_stats_from_txt_file)

# Step 3 - Here, I create a new file, then indicate we will "w"rite to it. I take the
# progress from Step 2 and apply it here.

with open('medium_stats_ready_for_pandas.json', 'w') as f:
f.write(cleansed_stats_from_txt_file)

# Step 4 - Onto Pandas! We've already imported the pandas library as "pd."
# We first create a data frame and name the columns. I kept the names
# very similar to avoid confusion. I feared that timestampMs might be a
# reserved word in Oracle DB or too close, so I renamed it.

df = pd.DataFrame(columns=['USERID', 'FLAGGEDSPAM', 'STATSDATE', 'UPVOTES', 'READS', 'VIEWS', 'CLAPS', 'SUBSCRIBERS'])

with open("/Users/choina/Documents/socialstats/medium_stats_ready_for_pandas.json", "r") as f:
data = json.load(f)
data = data['payload']['value']

print(data)

for i in range(0, len(data)):
df.loc[i] = [data[i]['userId'], data[i]['flaggedSpam'], data[i]['timestampMs'], data[i]['upvotes'], data[i]['reads'], data[i]['views'], data[i]['claps'], data[i]['updateNotificationSubscribers']]

df['STATSDATE'] = pd.to_datetime(df['STATSDATE'], unit="ms")

print(df.columns)

# Step 5 - use the Pandas' df.to_csv function and save the data frame as
# a CSV file

with open("medium_stats_ready_for_database_update.csv", "w") as f:
df.to_csv(f, index=False, header=True)
I used several Python libraries I use for this script:
Step 1
p = Path("/Users/choina/Documents/socialstats/1668776608433.json")
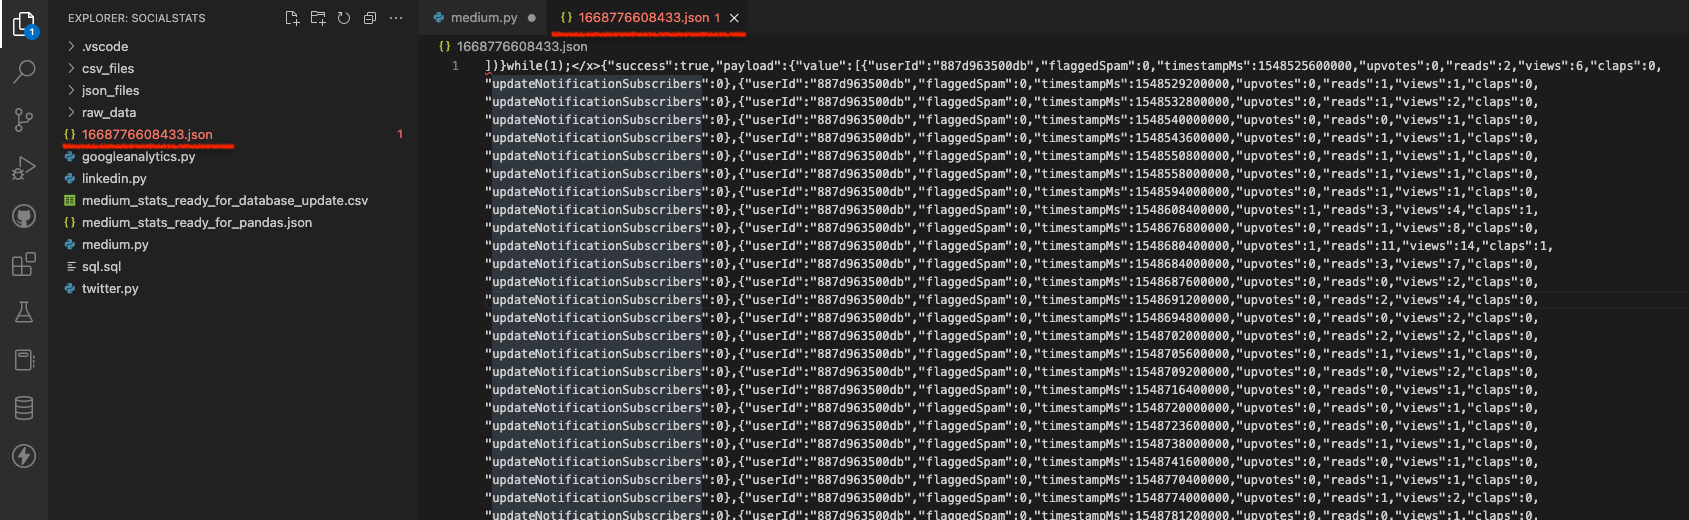
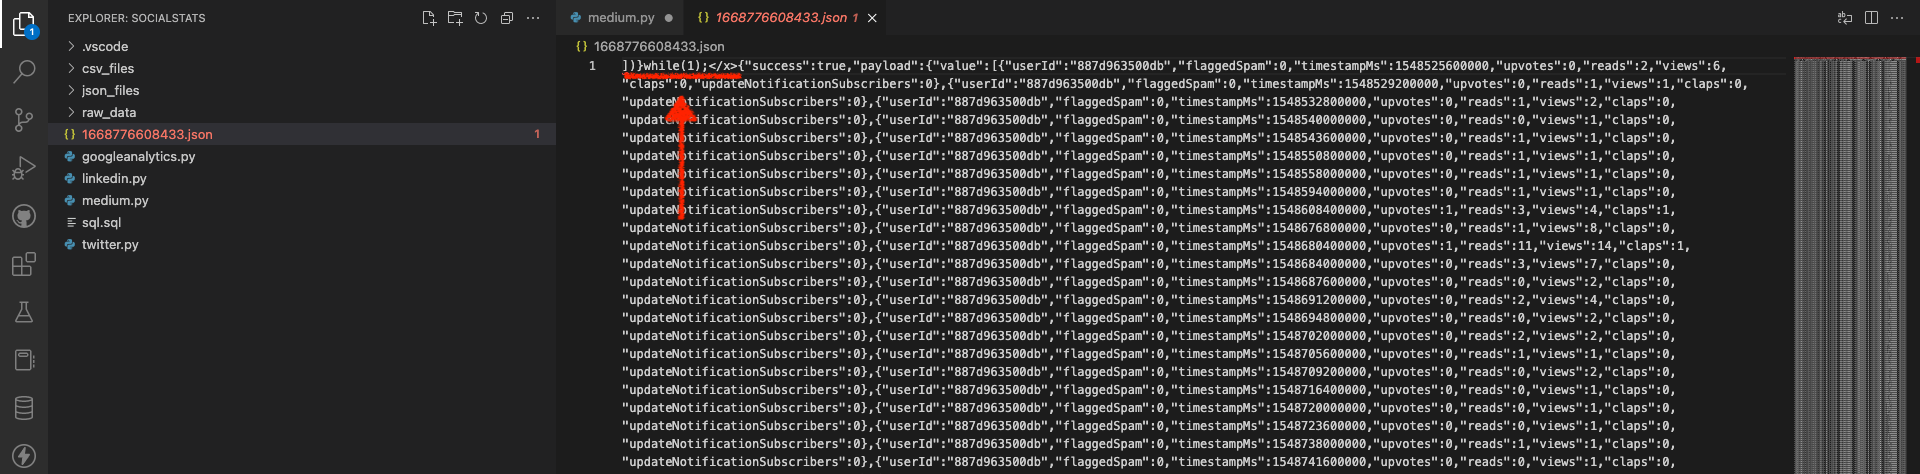
p.rename(p.with_suffix('.txt')Pathlib allows you to assign the file’s path to “p”. From there, I changed the .json file extension to a .txt extension.
Note: Again, I'm sure there is a better way to do this, so if you're reading, leave a comment here or on my GitHub repository so I can attribute it to you 🙃.
The before and after of what this step looks like this:
JSON before
TXT afterWith that out of the way, I needed to remove that JavaScript “prefix” in the file. I do this in Step 2 (I got so fancy that I probably reached diminishing returns). My approach works, and I can repurpose this for other applications too!
Step 2:
# Step 2 - "read" in that text file, and remove those pesky
# characters/artifacts from position 0 through position 15. Or in other
# words, you'll retain everything from position 16 onward because that's
# where the actual JSON payload is.

with open("/Users/choina/Documents/socialstats/1668776608433.txt", "r") as f:
stats_in_text_file_format = f.read()

# This [16:] essentially means grabbing everything in this range. Since
# there is nothing after the colon; it will just default to the end (which is
# what I want in this case).
cleansed_stats_from_txt_file = stats_in_text_file_format[16:]

print(cleansed_stats_from_txt_file)

# This took me a day to figure out, but this text file needs to be
# appropriately encoded to save as a JSON file (which is about to
# happen). I always forget the difference between "dump" and "dumps";
# json.dumps = dump string, whereas json.dump = dump object. There is
# a difference, I'm not the expert, but the docs were helpful (you should
# read them).

json.dumps(cleansed_stats_from_txt_file)
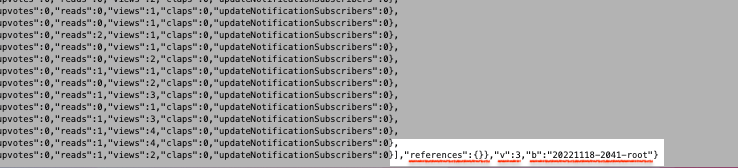
JSON responseWhile this initially came through as a JSON payload, those first 0-15 characters had to go.
FULL DISCLAIMER: I couldn't figure out how to get rid of this while it was still a JSON file hence why I converted this to a text file (this was the only way I could figure it out).
I captured position 16 to infinity (or the end of the file, whichever occurs first), then I re-encoded the file as JSON (I interpreted this as “something the target machine can read and understand as JSON“).
OPEN SEASON: CompSci folks, please roast me in the comments if I'm wrong.
Step 3
# Step 3 - I create a new file, then I'll "w"rite to it. I took the result from Step 2 and applied it here.

with open('medium_stats_ready_for_pandas.json', 'w') as f:
f.write(cleansed_stats_from_txt_file)
I’m still at the data-wrangling portion of this journey, but I’m getting close to the end. I’ll create a new JSON file, take the parts of the (freshly encoded) text file I need, and then save them as that new JSON file.
Step 4
# Step 4 - Onto Pandas! We've already imported the pandas library as "pd"

# I first create a data frame and name the columns. I kept the names
# similar to avoid confusion. I feared that timestampMs might be a
# reserved word in Oracle DB or too close, so I renamed it.

df = pd.DataFrame(columns=['USERID', 'FLAGGEDSPAM', 'STATSDATE', 'UPVOTES', 'READS', 'VIEWS', 'CLAPS', 'SUBSCRIBERS'])

with open("/Users/choina/Documents/socialstats/medium_stats_ready_for_pandas.json", "r") as f:
data = json.load(f)
data = data['payload']['value']

print(data)

for i in range(0, len(data)):
df.loc[i] = [data[i]['userId'], data[i]['flaggedSpam'], data[i]['timestampMs'], data[i]['upvotes'],
data[i]['reads'], data[i]['views'], data[i]['claps'], data[i]['updateNotificationSubscribers']]

df['STATSDATE'] = pd.to_datetime(df['STATSDATE'], unit="ms")

print(df.columns)
I won’t teach Pandas (and honestly, you do NOT want me to be the one to teach you Pandas), but I’ll do my best to explain my process. I first created the structure of my data frame (“df” in this case). And then, I named all the column headers (these can be anything, but I kept them very close to the ones found in the original JSON payload).
I then opened the newly-saved JSON file and extracted what I needed.
NOTE: I got stuck here for about a day and a half, so let me explain this part.
The data['payload']['value'] refers to the key and value in this particular {key: value} pair. This approach allowed me to grab all the values of “value“. This image explains what I started with (on the left) and what I ended up with (on the right).

JSON payloadYou’ll notice a {"success": true} key: value pair. With this method, I removed that pair and shed others at the end of the JSON payload.
I can’t take credit for organically coming up with this next part; Kidson on YouTube is my savior. I’d watch this video to understand what is happening in this piece of code entirely:
for i in range(0, len(data)):
    df.loc[i] = [data[i]['userId'], data[i]['flaggedSpam'], data[i]['timestampMs'], data[i]['upvotes'],
    data[i]['reads'], data[i]['views'], data[i]['claps'], data[i]['updateNotificationSubscribers']]
In short, you take the values from the columns in the JSON file (above) and then put them into the column locations named in this piece of code:
df = pd.DataFrame(columns=['USERID', 'FLAGGEDSPAM', 'STATSDATE', 'UPVOTES', 'READS', 'VIEWS', 'CLAPS', 'SUBSCRIBERS']) For instance, the "userId" values in the JSON file will all go into the 'USERID' column in the Pandas data frame. And the same thing will happen for the other values and associated (Pandas data frame) columns.
Finally, I changed the date (which, if you recall, is still in this Epoch format) with the Datetime library to a more friendly, readable date. Using this code:
df['STATSDATE'] = pd.to_datetime(df['STATSDATE'], unit="ms")Step 5
with open("medium_stats_ready_for_database_update.csv", "w") as f:
    df.to_csv(f, index=False, header=True)
I’m at the home stretch now. I take everything I’ve done in Pandas and save it as a CSV file. I wanted to keep the headers but ditch any indexing. The clean CSV file will look like this:
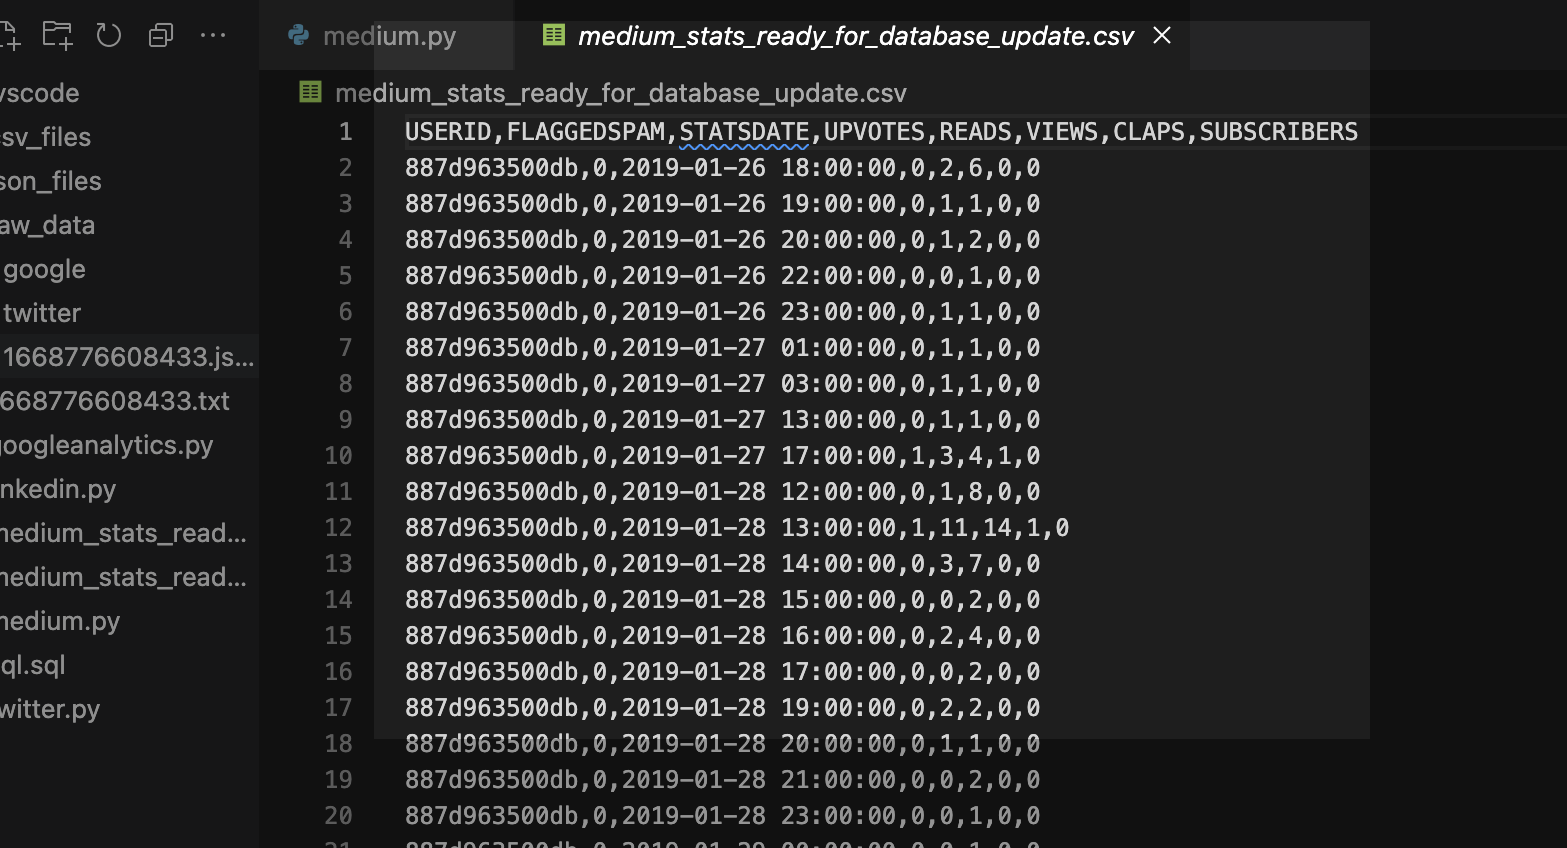
CSV ready for Data Load via SQL Developer WebStep 6
Lastly, I logged into SQL Developer Web and clicked the new Data Load button (introduced in Oracle REST Data Services version 22.3) to upload the CSV file into a new table. The Autonomous Database automatically infers column names and data types. I slightly modified the "statsdate" column (honestly, I could have left it alone, but it was easy enough to change).
Before and After
And that’s it! Once uploaded, I can compare what I did previously to what I have achieved most recently. And both ways are correct. For instance, depending on your requirements, you can retain the JSON payload as a CLOB (as seen in the first image) or a more traditional table format (as seen in the second image).

CLOB
Wrap up
If you’ve made it this far, congrats! You should now have two ways to store Medium stats data in a table (that lives in the Oracle Autonomous Database) either as:
- a CLOB
- an OG table
And if you’d like to review the code, you can find it here.
And until next time 🫠, happy querying.
Leave a Reply