Category: ORDS
-
From one API to another: Using ORDS Auto-REST to update a table
I think in this new age of AI/LLMs it is important to understand prompting. Eventually, whether we like it or not, we’ll all need to become “prompt engineers.” And as you’ll see in that thread, you actually have to know what you are doing to be able to ask the right questions and to challenge…
Written by

-
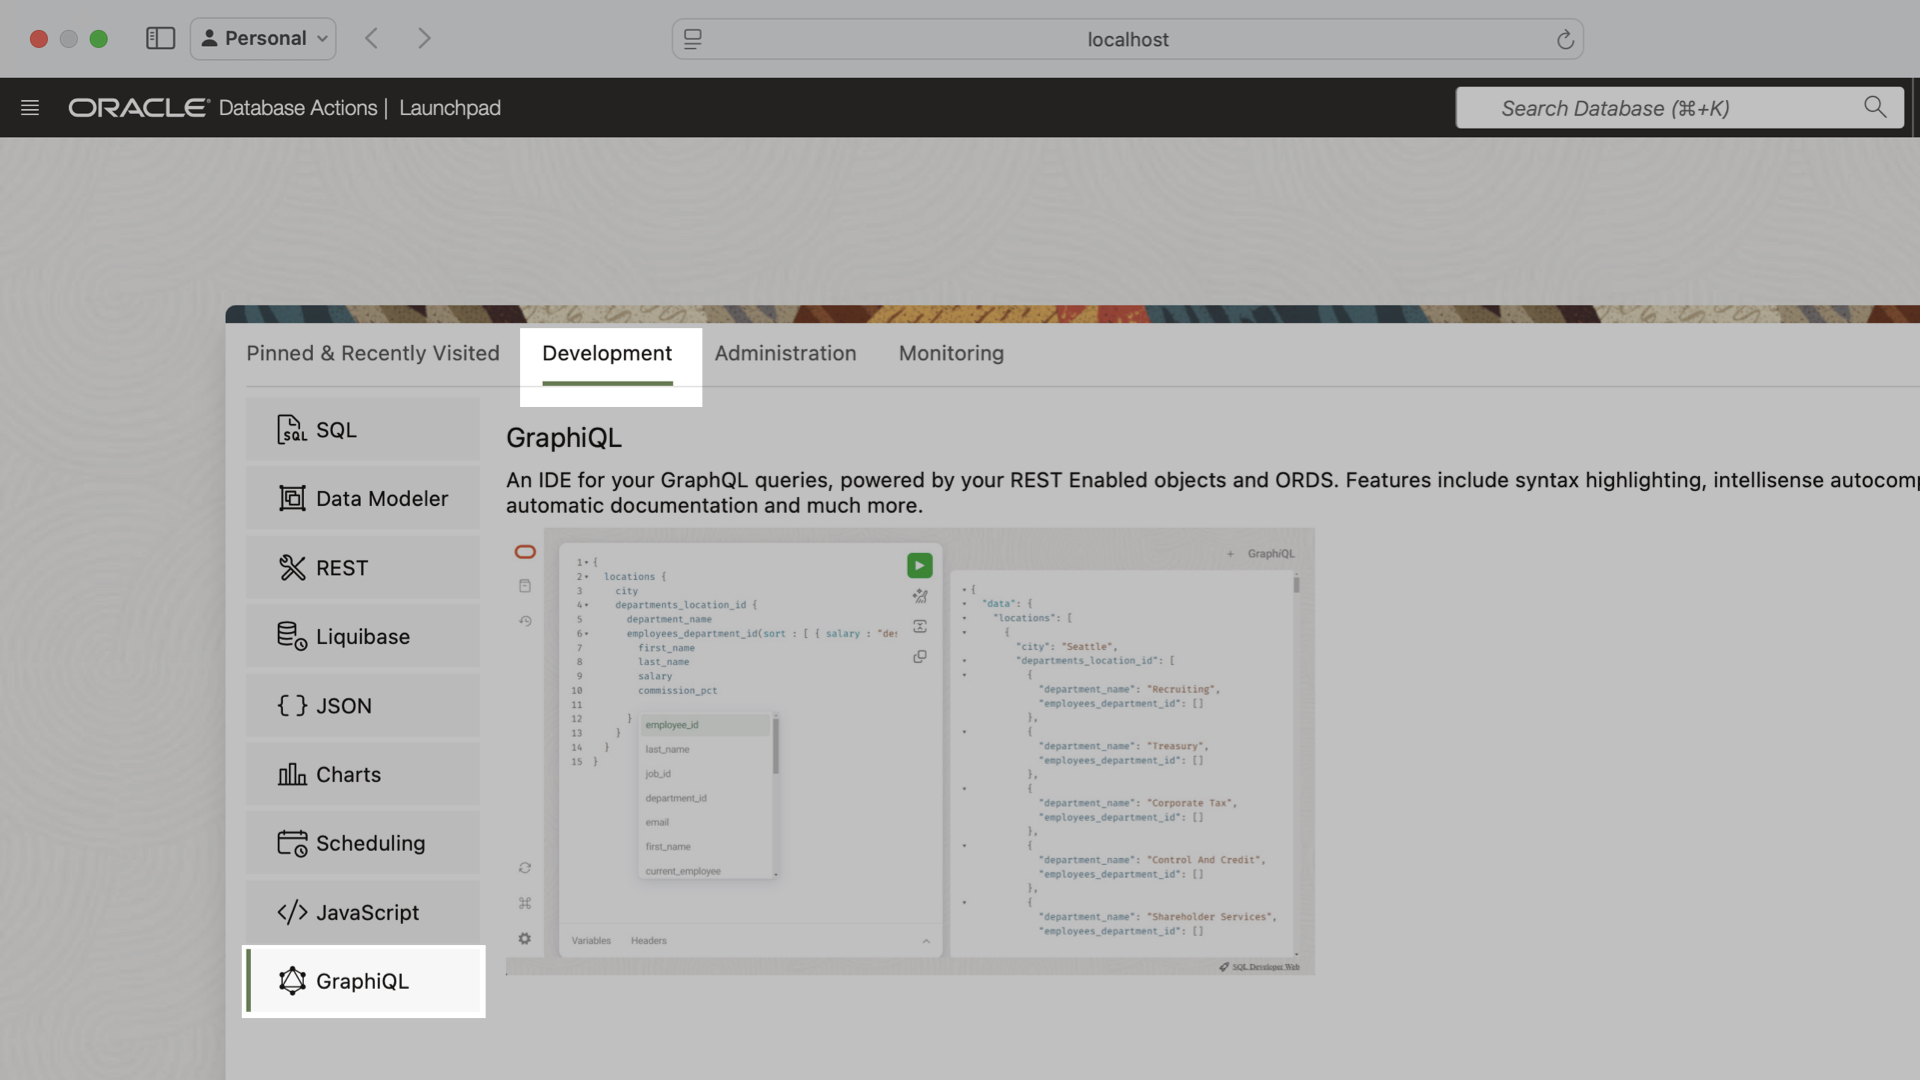
ORDS and GraphQL: using Maven to build the polyglot and js dependencies for GraalVM for JDK 21
Disclaimer This article is an expansion from a previous, separate Oracle forums thread. The question posed was (paraphrasing): Can I use ORDS with Oracle GraalVM for JDK 21 (despite the ORDS team only officially claiming support for Oracle JDK 17, Oracle JDK 21, Oracle GraalVM Enterprise Edition for Java version 17, and Oracle GraalVM Enterprise…
Written by
-
Adding X-Powered-By, Version, and Date Headers to ORDS Standalone
Additional functionality with Jetty XML Here is an example of a Jetty Context XML file that adds additional headers to your ORDS HTTP responses. To test this out, first, create a Jetty XML file and populate the body with the contents in the above example. In this example, I’ve named the file jetty_headers.xml. Next, place…
Written by
-
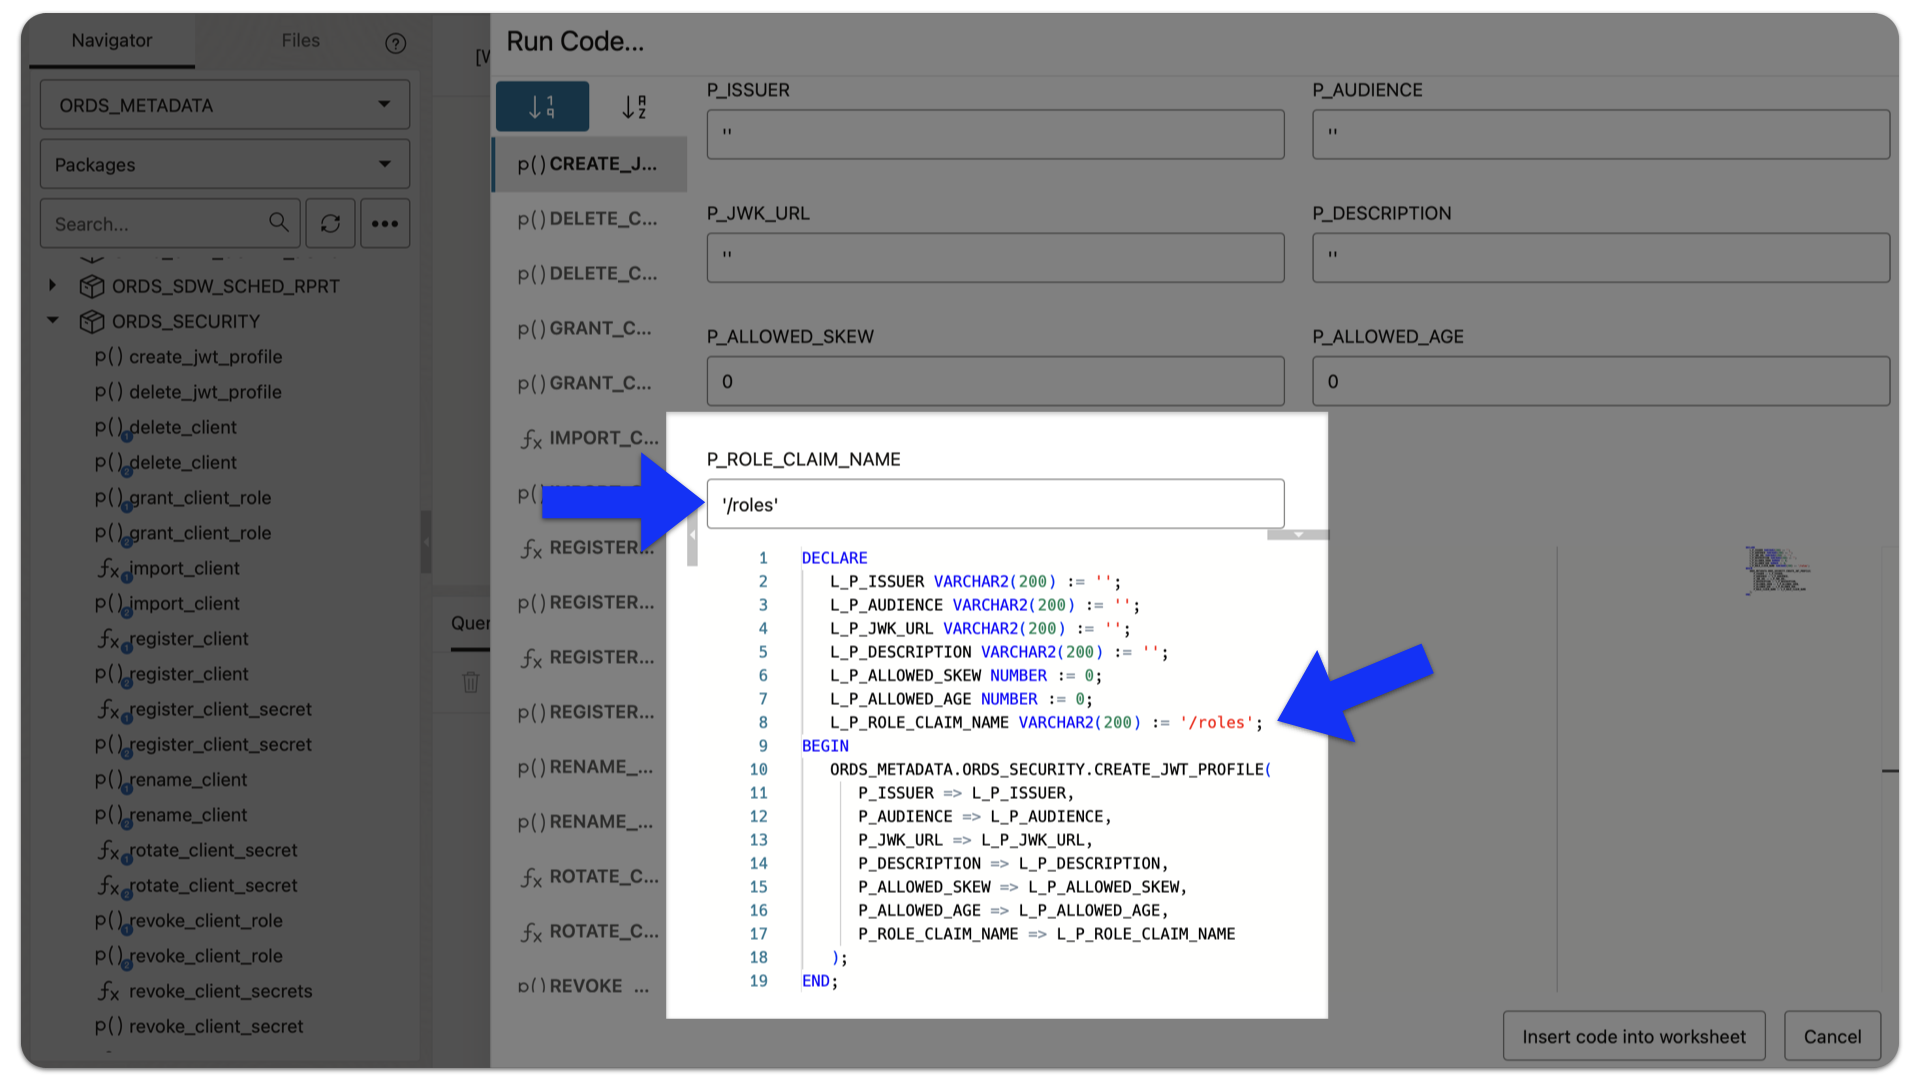
ORDS 25.1 Release Highlights
ORDS 25.1 is now available, here are the highlights 😀 JWT roles-based scopes You are probably well aware of our current JWTs authentication and authorization support. But shortly after releasing this functionality, one of our long-time customers asked us to enhance ORDS JWT Profiles so they could also support roles “claims” (and scopes). So now,…
Written by
-
Troubleshooting: reviewing ORDS connections, your application server, and response times
Symptom/Issue In an internal Slack thread today, a user was trying to diagnose browser latency while attempting to connect to the ORDS landing page. Peter suggested what I thought was a pretty neat heuristic for checking connections to ORDS and your database, as well as latency. Methodology Let’s say your symptoms are either slow loading…
Written by

-
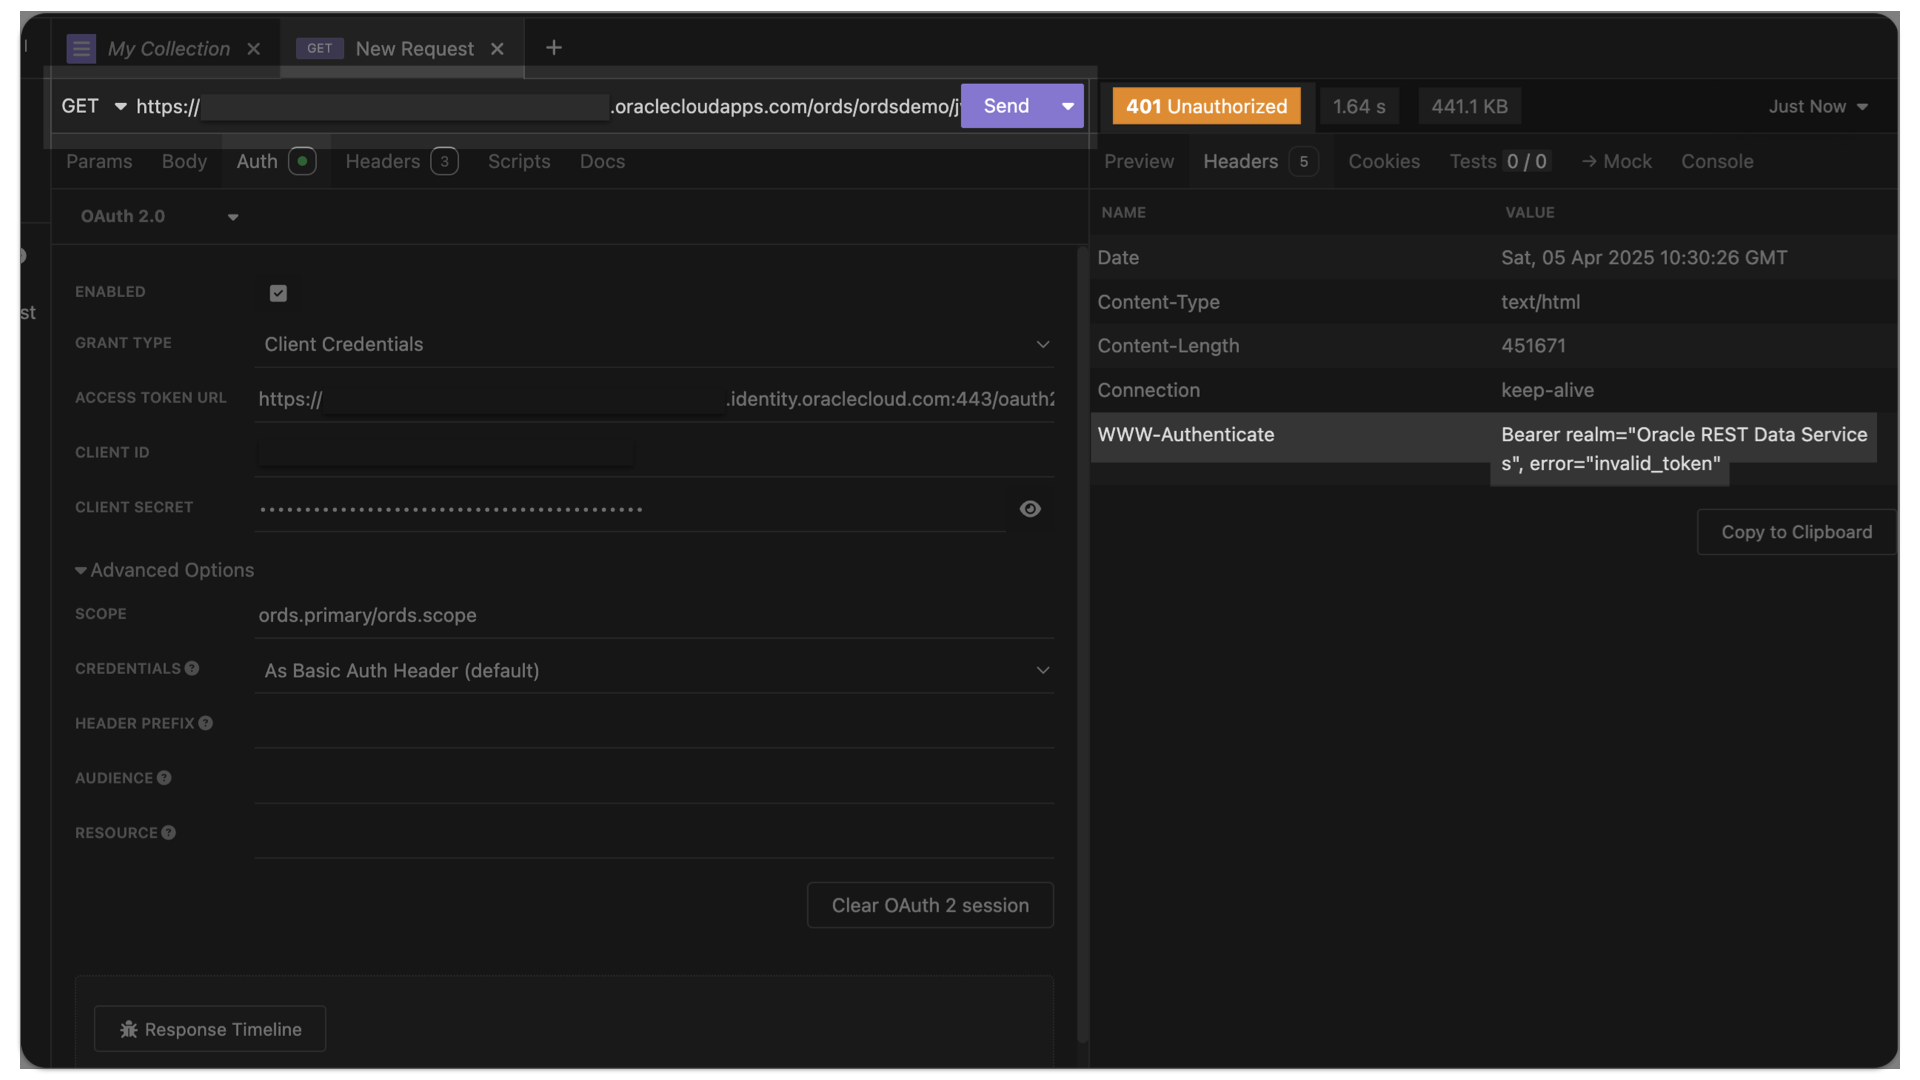
401 Unauthorized invalid_token – troubleshooting Oracle Cloud IAM JWTs with ORDS
Symptoms You are able to request an access token from OCI IAM. Yet, when you issue the subsequent request to your target resource (an ORDS endpoint), you receive the following message (error=”invalid_token”): Actions you’ve taken YET…you still receive this error=”invalid_token” message, it is quite possible that you have not made the JWK URL publically accessible in…
Written by
-
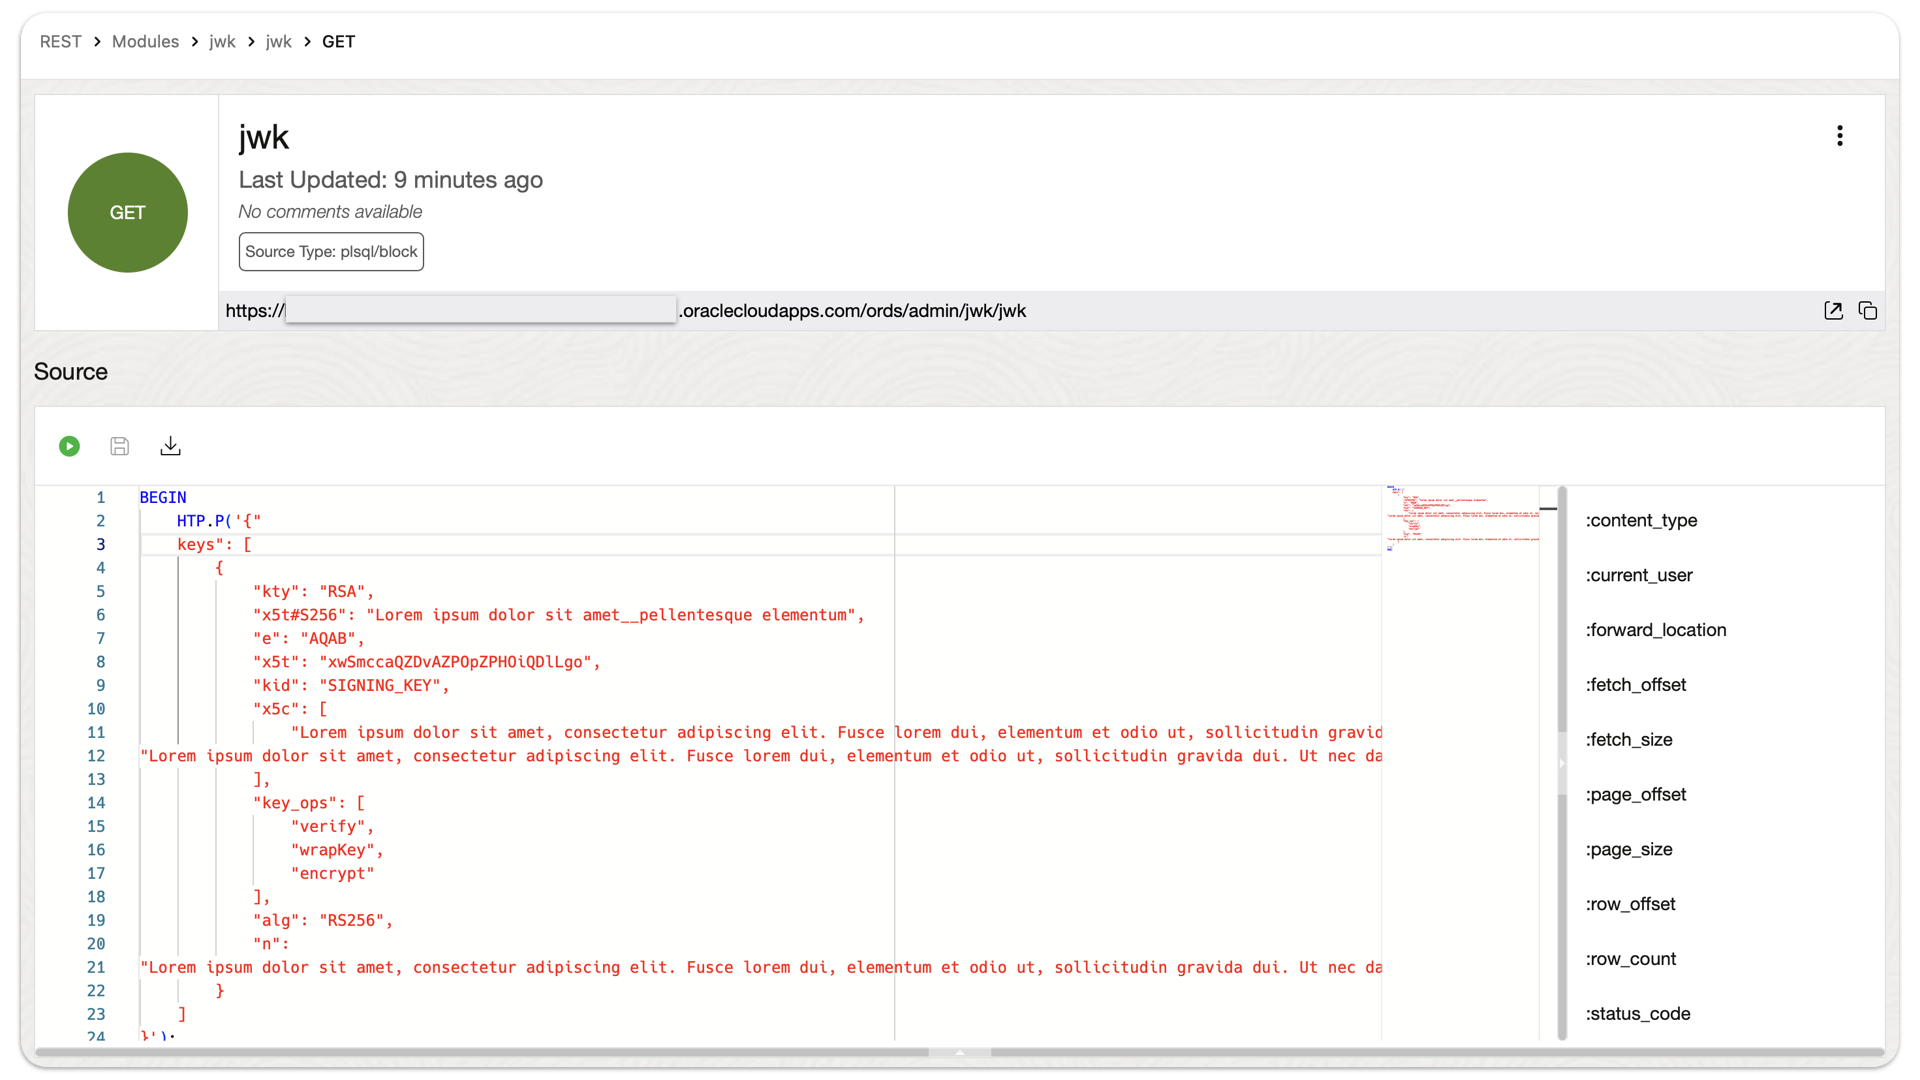
Example: an ORDS API that returns a user-configured JSON object
This actually came about from a Support Request. We were troubleshooting a JWT issue, that had ORDS in the mix. Ultimately, this is looking more and more like a networking issue (maybe something to do with routing rules between the load balancer and the backend server). But in the course of our troubleshooting, we wanted…
Written by
-
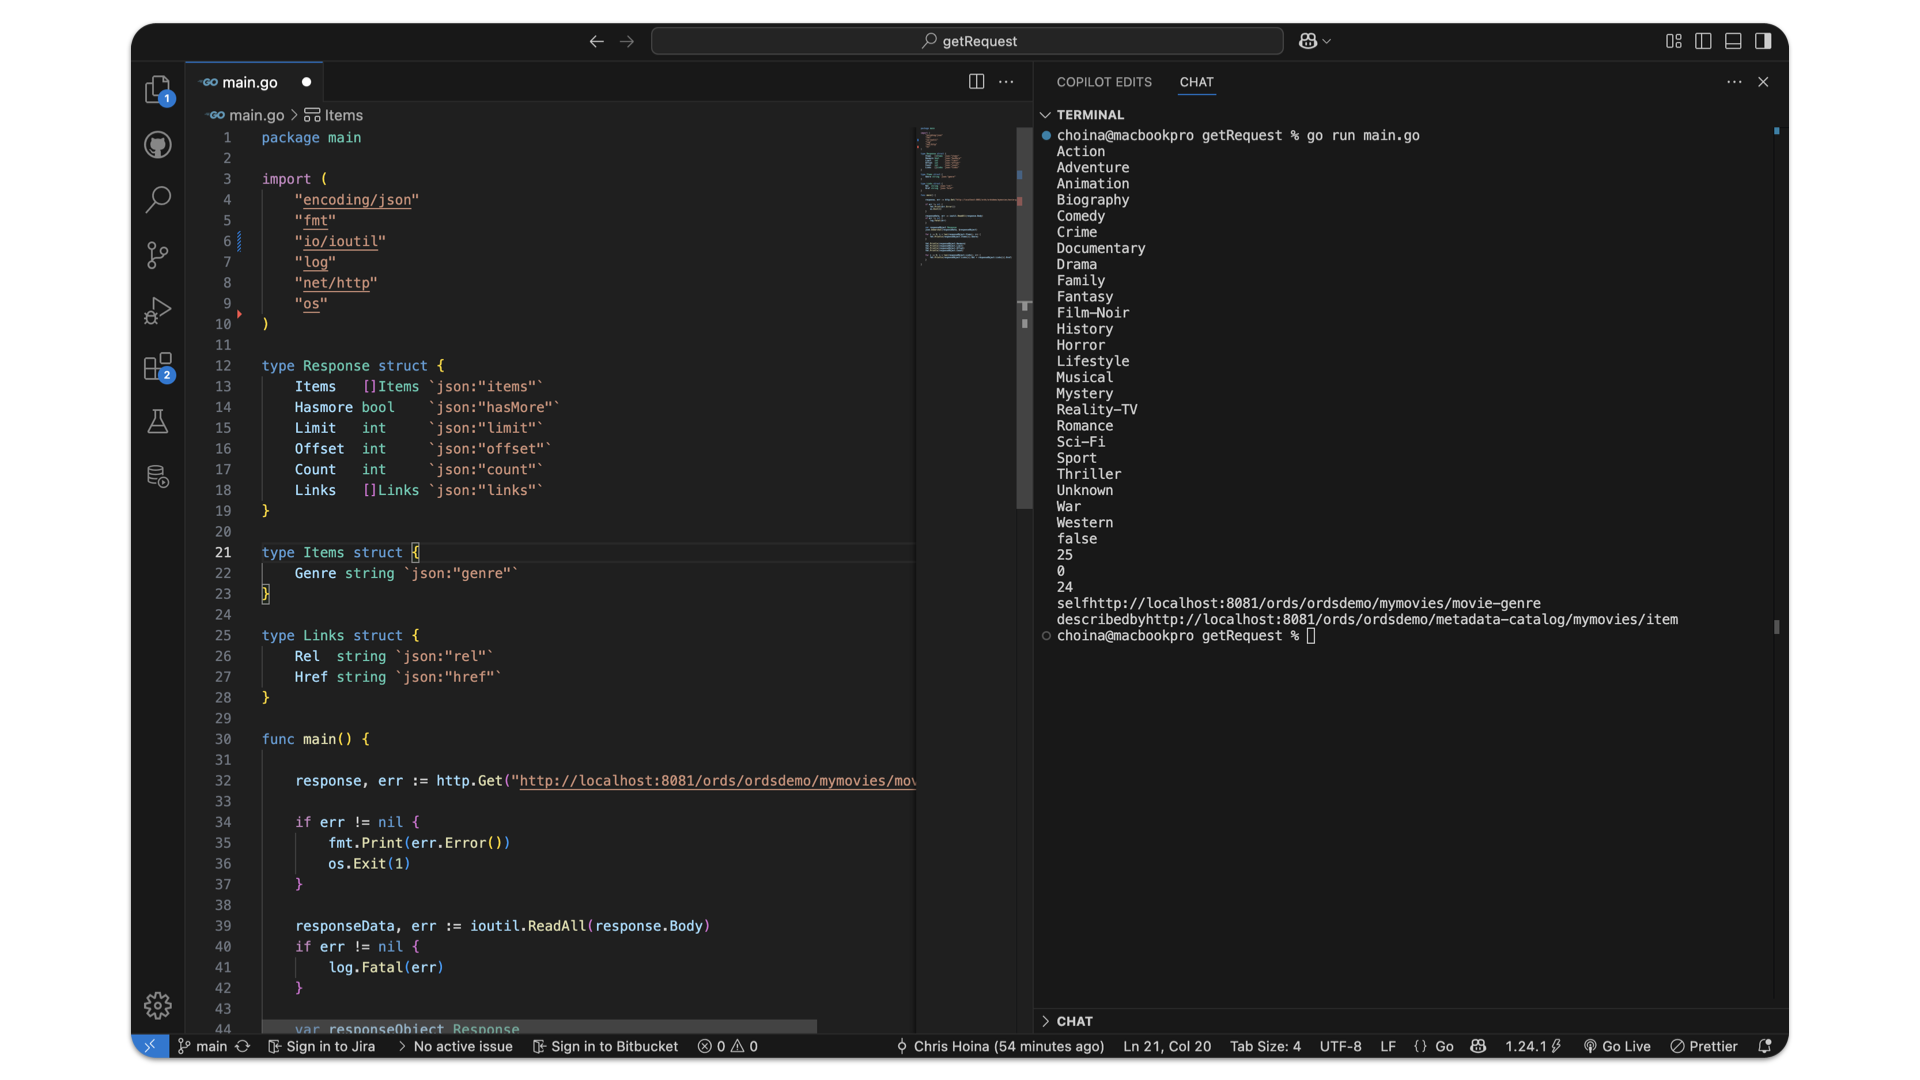
A simple ORDS GET request using the Go language
Venkata this one’s for you 😀 It took me the rest of the afternoon, but here is a pretty simple GET request example, using a user-defined ORDS API. This API is derived from one of our LiveLabs, a Python + JavaScript application. But this particular scenario pretty well exemplifies what we discussed in our presentation…
Written by
-
503 Service Unavailable: ORDS unable to make a connection…all connections in the Univeral connection Pool are in use – [30,30,42….]
Have you ever seen this? Have you ever seen a message like this while working with ORDS? The one where you receive a 503 Service Unavailable response code and message? This message has something to do with ORDS being unable to make a connection to the database. But if you keep reading, you’ll see even…
Written by
-
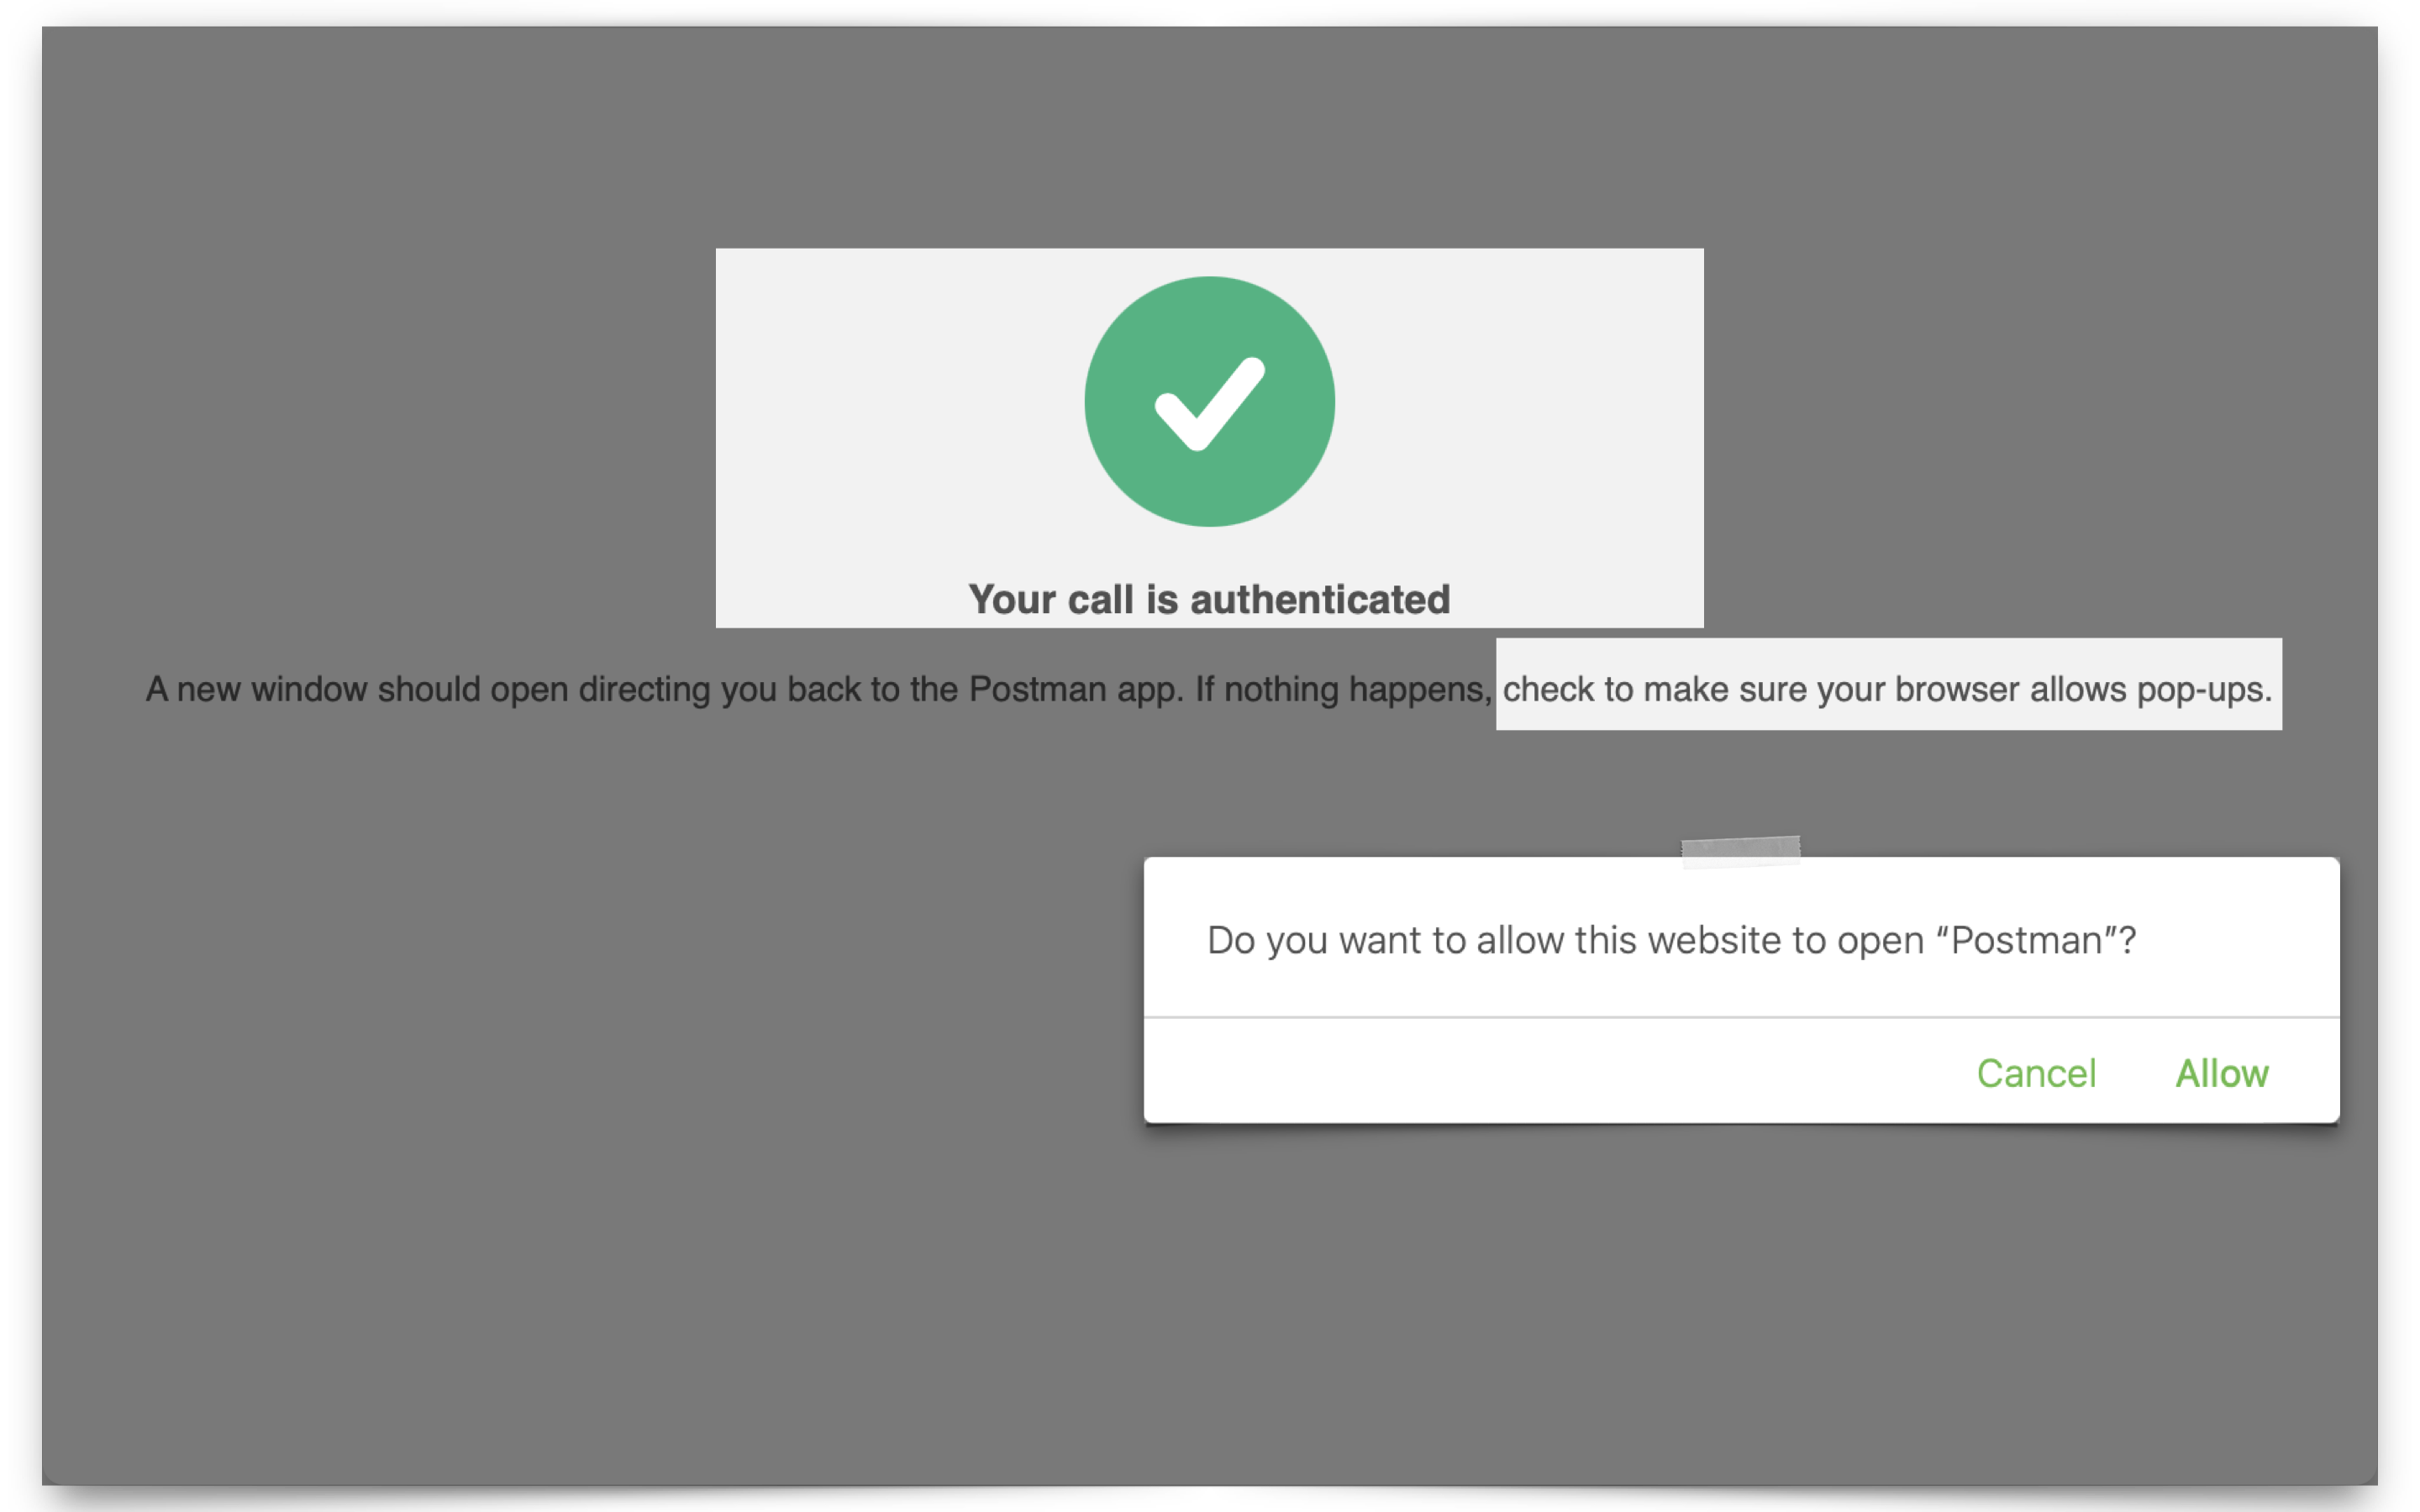
Configuring OCI IAM Domain JWTs to use with ORDS OAuth2.0 protected APIs
Table of Contents Intended Audience/Purpose Does this describe you? Creating a Domain Configure Client Access Adding an Integrated Application to the Domain Adding the application Configuring OAuth Resource server configuration Client Configuration Issuing a POST request to obtain a JWT Gathering the required values for the request Setting up Postman Requesting the JWT ORDS configuration…
Written by