Category: OCI
-
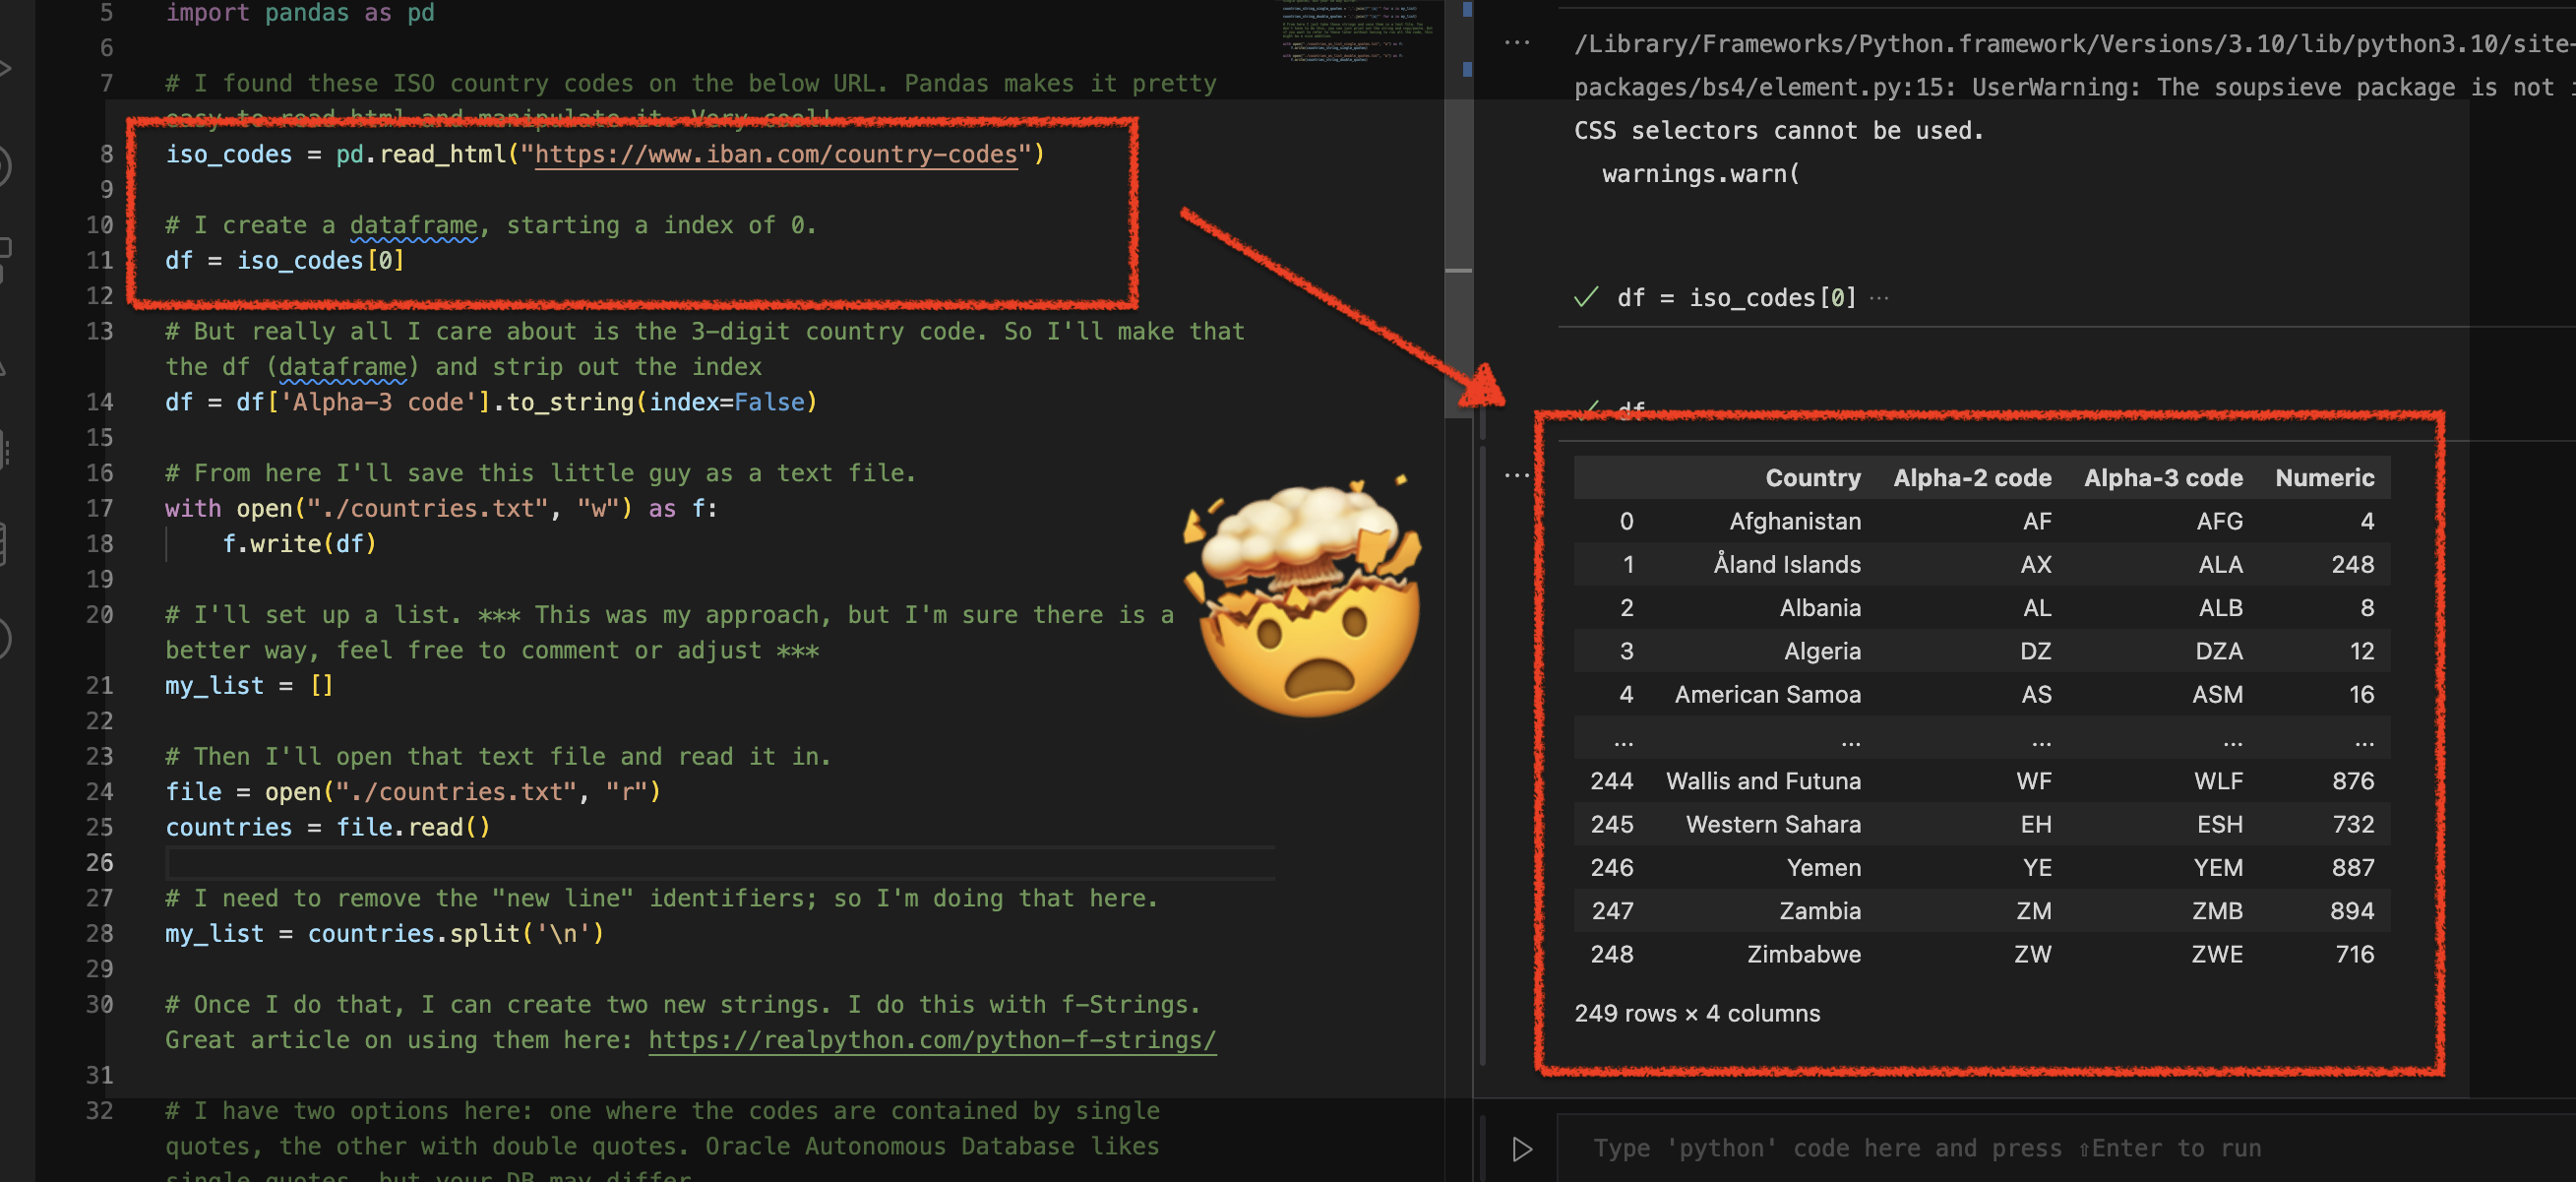
Using Python Pandas to turn ISO Country Codes into a string to use as values for a SQL Query
Summary, code, resources Problem While querying a table (based on this dataset) with SQL, you realize one of your columns uses 3-character ISO Country Codes. However, some of these 3-character codes aren’t countries but geographical regions or groups of countries, in addition to the actual country codes. How can you filter out rows so you are left…
Written by
-
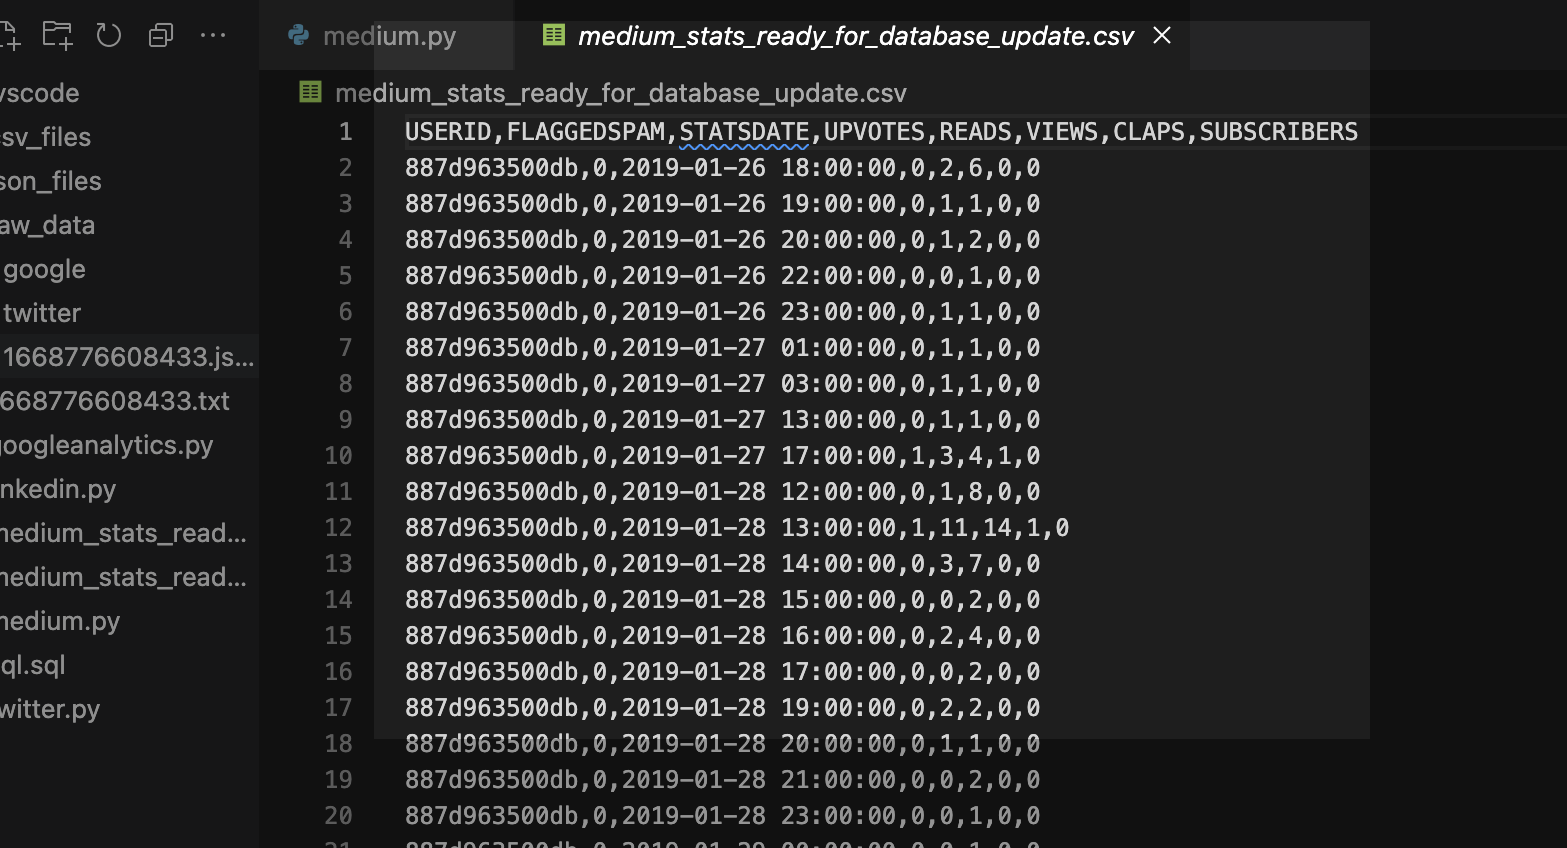
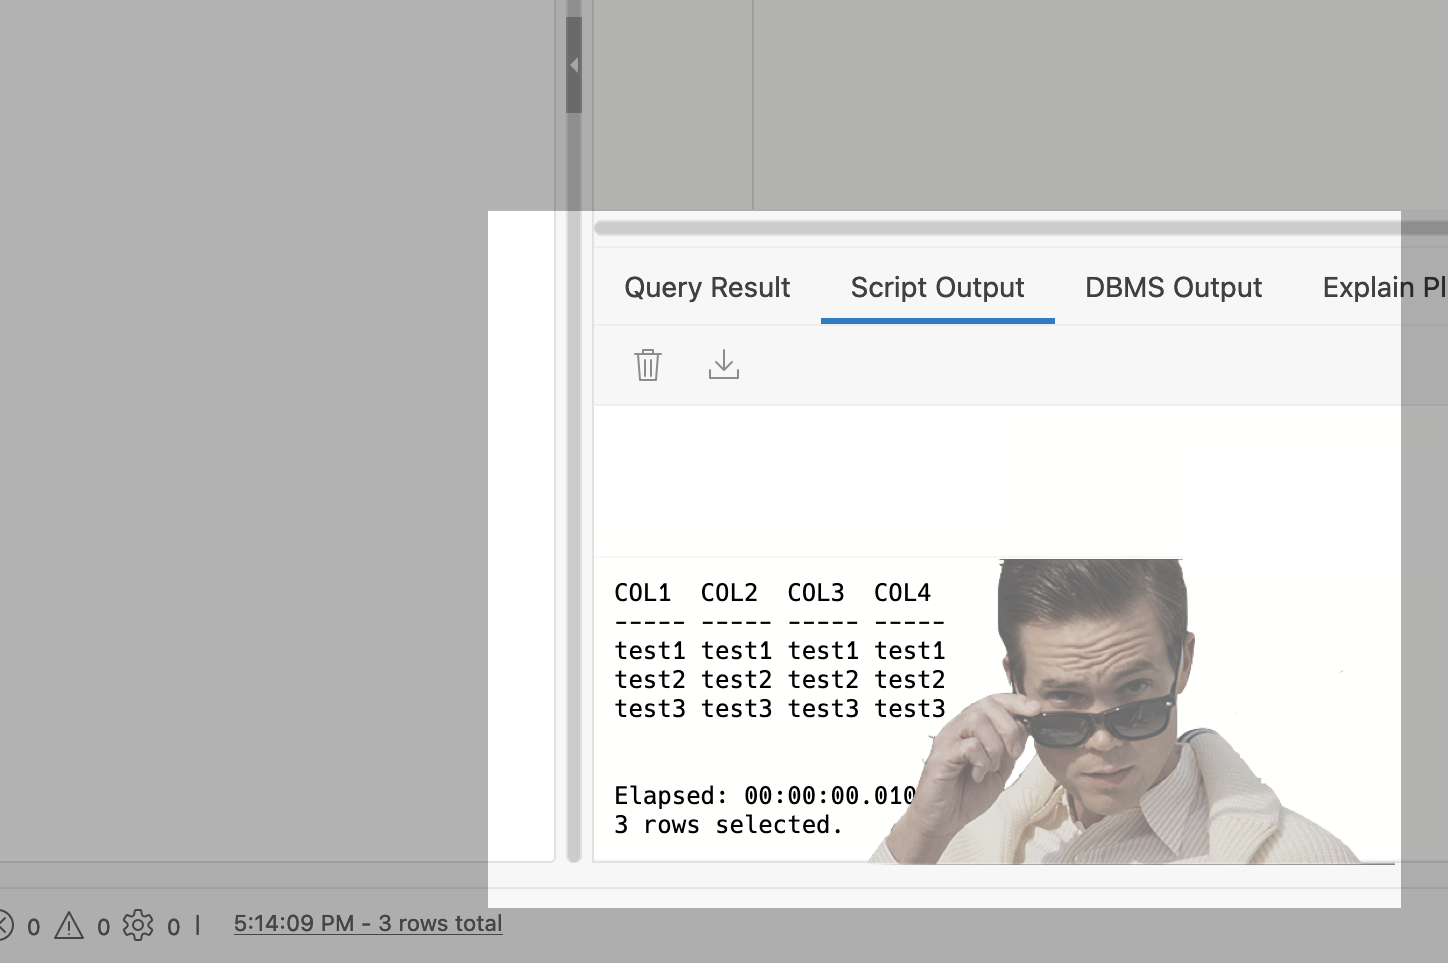
More fun with Medium story stats, JSON, Python, Pandas, and Oracle SQL Developer Web
That’s right; I’m back again for yet another installment of this ongoing series dedicated to working with Medium.com story stats. I first introduced this topic in a previous post. Maybe you saw it. If not, you can find it here. Recap My end goal was to gather all story stats from my Medium account and…
Written by
-
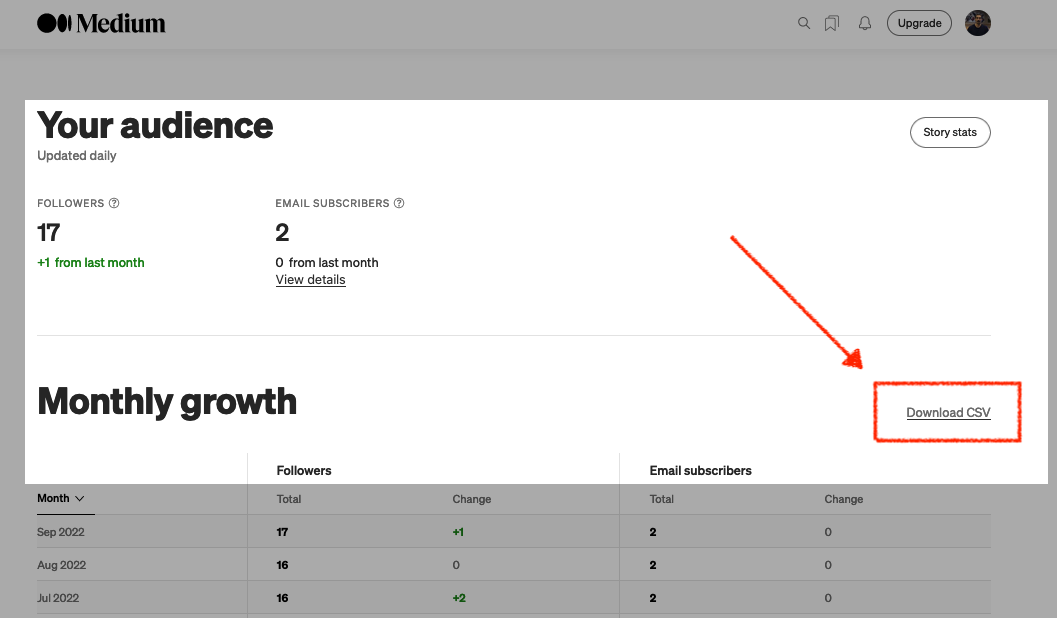
Fun with Python GET requests, Medium stats, and the Oracle Autonomous Database
I feel so silly for posting this because you’ll quickly realize that I will have to leave things unfinished for now. But I was so excited that I got something to work, that I had to share! If you’ve been following along, you know you can always find me here. But I do try my best…
Written by
-
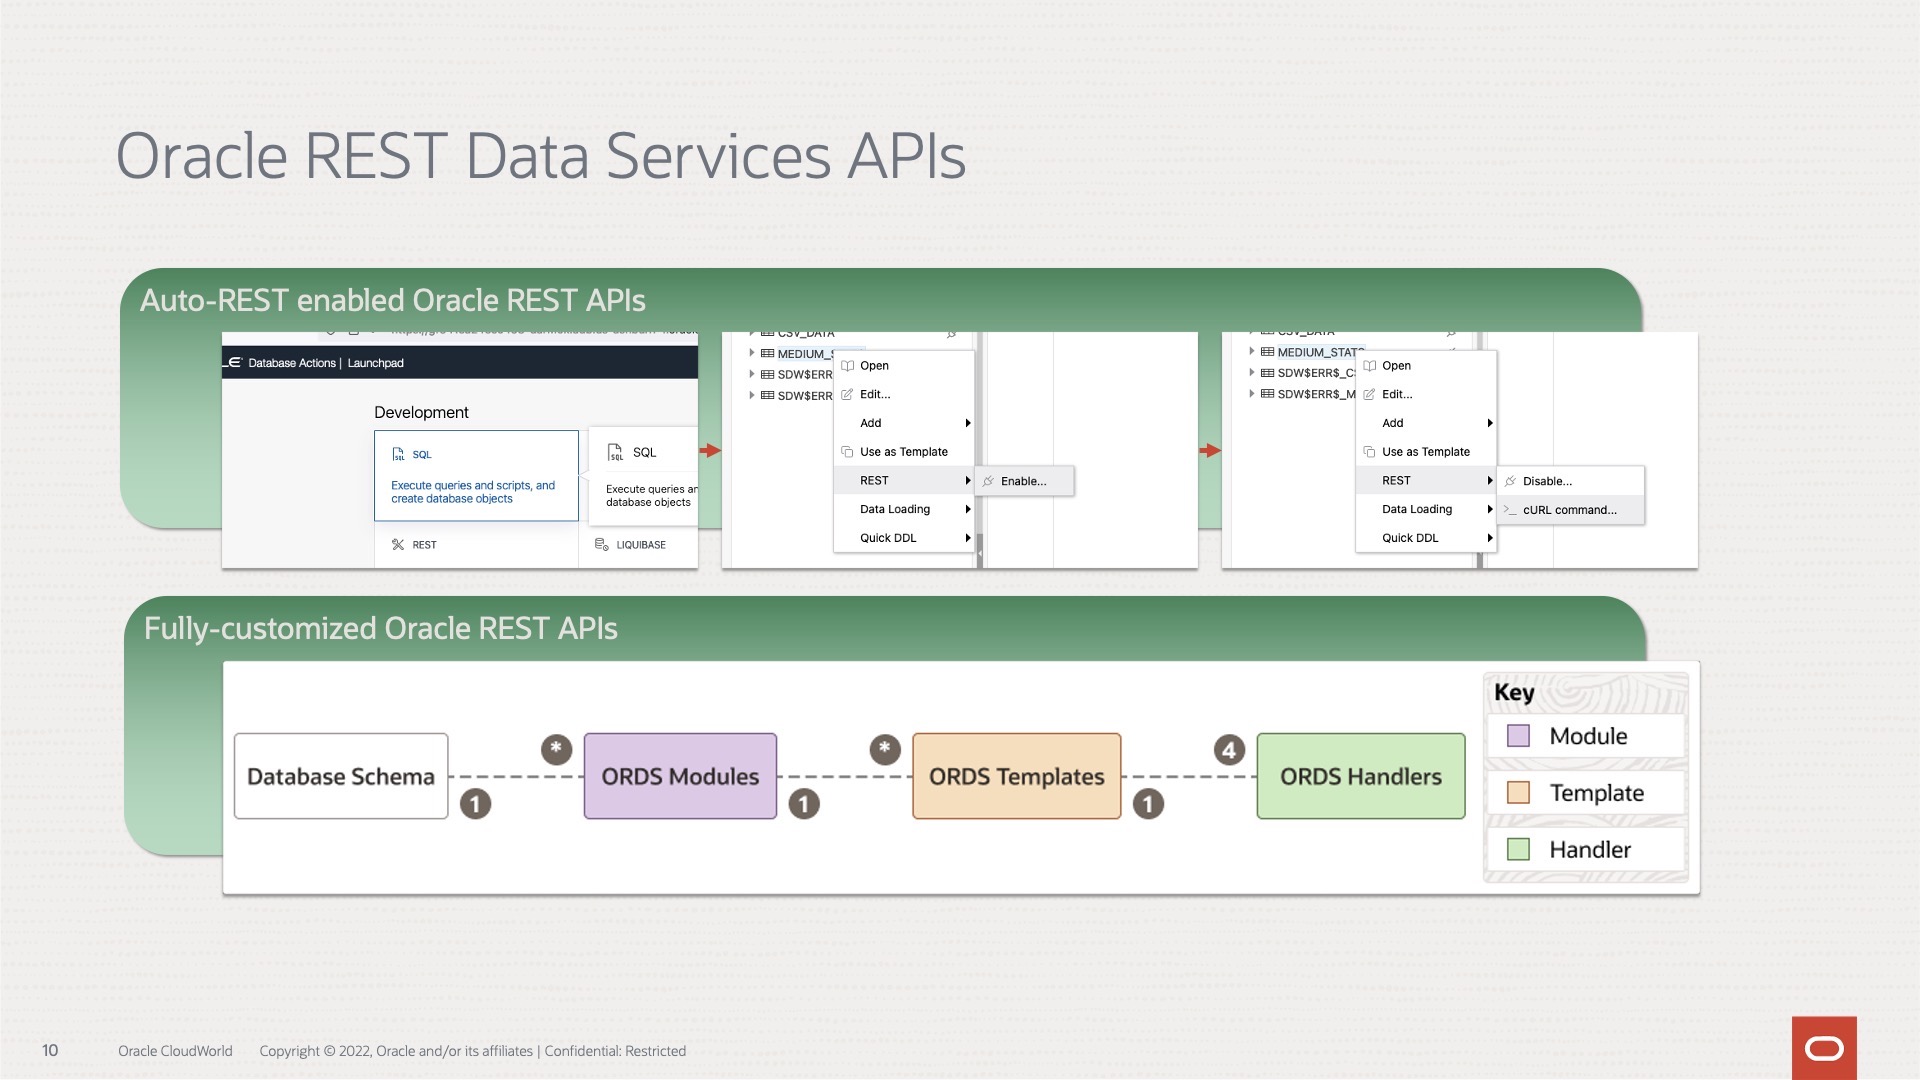
Oracle REST APIs: A LiveLabs review
Recently Jeff and I were invited by the Oracle Developers and Developer Relations teams to do a walkthrough of a LiveLabs workshop, “How to Build Powerful and Secure REST APIs for Your Oracle Autonomous Database.” We spent about 90 minutes moving through selected labs in the workshop. Luckily they recorded it for us; you can…
Written by
-
Python POST requests three ways with Oracle REST Data Services (ORDS)
The simple POST request It was bugging me that I couldn’t perform a simple Python POST request to an ORDS REST-enabled table. I don’t mean to convey that this isn’t possible. Up until very recently, I wasn’t able to do this. Luckily I had a few hours free, so I took to the docs to…
Written by
-
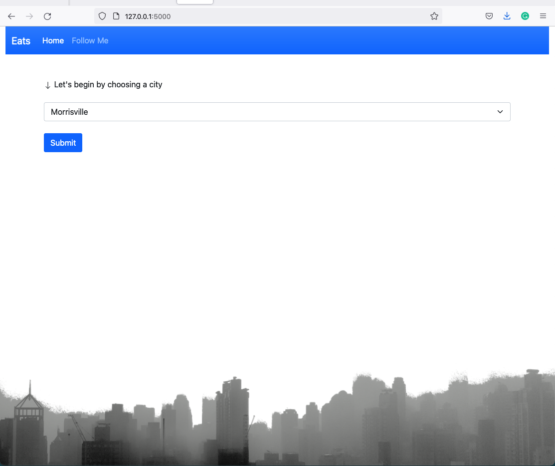
Python + Folium + Oracle REST APIs (aka ORDS)
Willkommen I stumbled upon a new [to me] python library called Folium. It’s a mapping tool that enables python developers (or is it programmers, which is less offensive?) to visualize data on a Leaflet map. About folium Folium makes it easy to visualize data that’s been manipulated in Python on an interactive leaflet map. It…
Written by

-
Working with WTForms and Oracle REST Database Services (ORDS) APIs
Welcome Back The title pretty much speaks for itself, and if you’ve been following along, you’d know that I’m working on a demo application that uses Flask (a web application microframework) connected to my Oracle Autonomous Database (ADB) via Oracle REST Data Services (ORDS) APIs. One of Flask’s strengths is that it allows you to…
Written by
-
Clean up a .CSV file with Regular Expressions, Pandas, and Python
I want to load data via Database Actions in my Oracle Autonomous Database, but first I need to clean up some Dates and Times. Python is my language of choice, and I’ve heard about Regular Expressions, but I’m scared…
Written by

-
GET requests with Python, ORDS, and the Oracle Autonomous Database
I needed an approach that would make me question my life decisions. Something that would force me to rethink what it meant to be human.
Written by
-
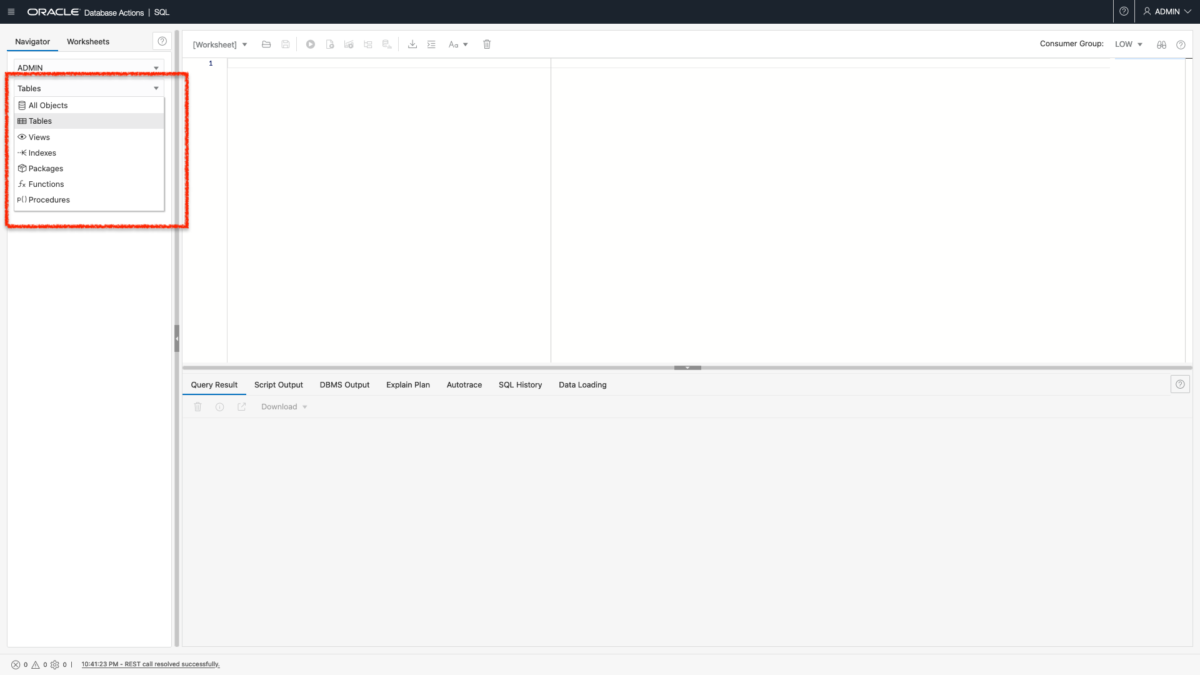
Updating VARCHAR2 fields in Oracle Database Actions
Update I’ve run into more problems with this python/flask/ords/adb app idea of mine. Turns out I’m too [developer] dumb to do some of the things that I’d originally envisioned. Now that I’ve become more familiar with python, flask, the Oracle Autonomous Database, and our Database Tools (like ORDS and Database Actions), I’m realizing that I…
Written by