Tag: Data prep
-
From one API to another: Using ORDS Auto-REST to update a table
I think in this new age of AI/LLMs it is important to understand prompting. Eventually, whether we like it or not, we’ll all need to become “prompt engineers.” And as you’ll see in that thread, you actually have to know what you are doing to be able to ask the right questions and to challenge…
Written by

-
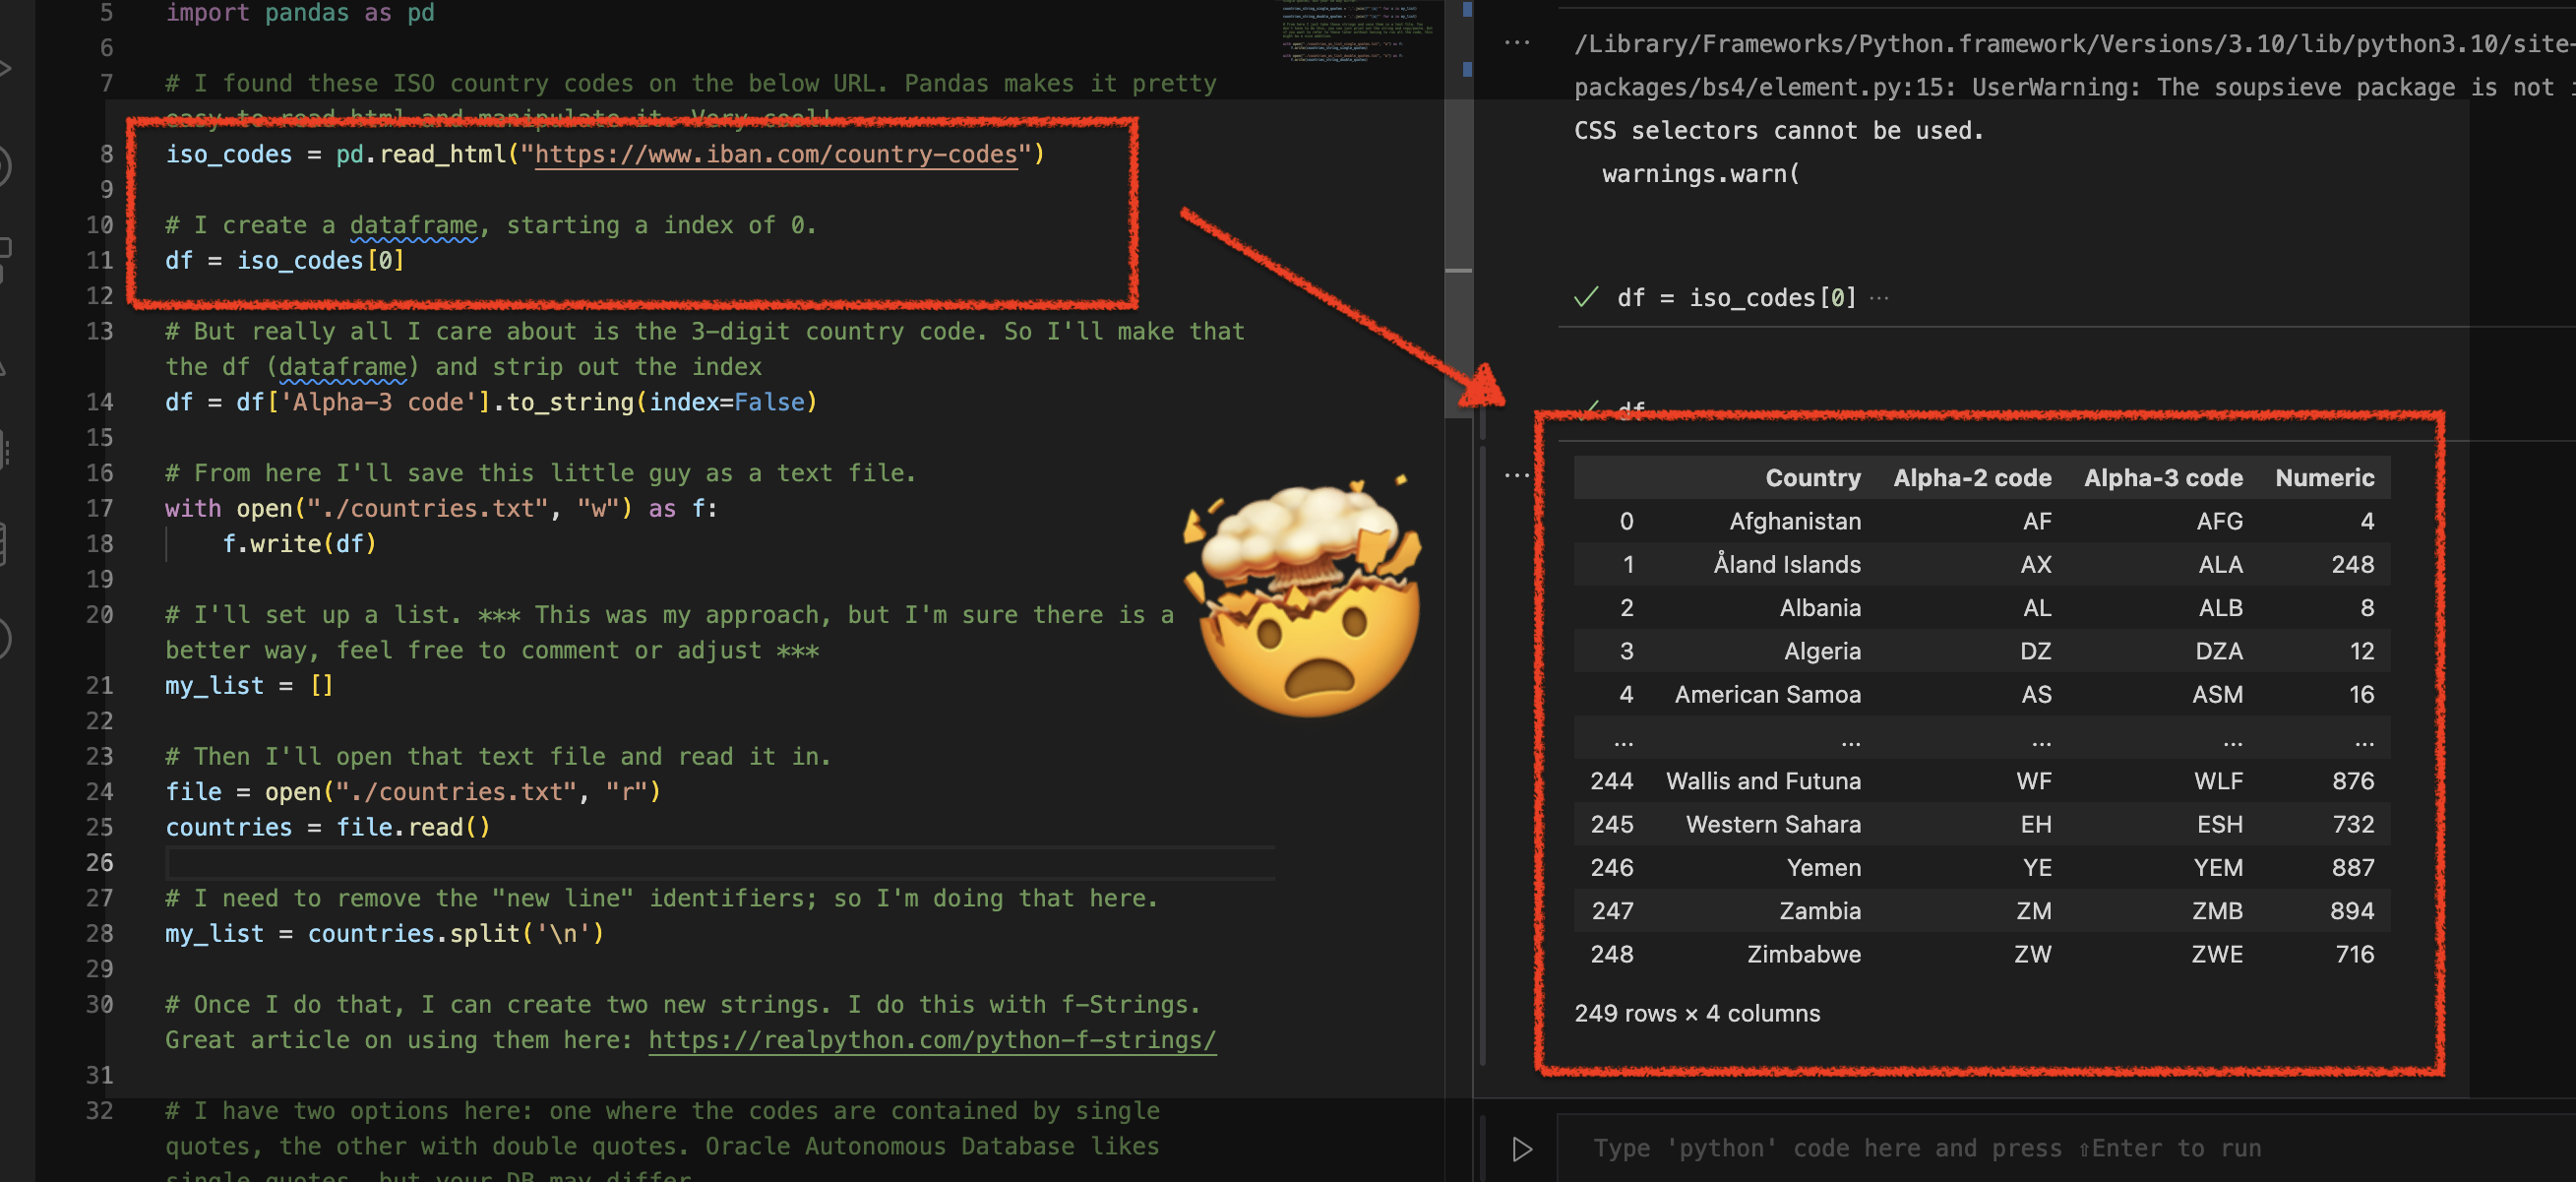
Using Python Pandas to turn ISO Country Codes into a string to use as values for a SQL Query
Summary, code, resources Problem While querying a table (based on this dataset) with SQL, you realize one of your columns uses 3-character ISO Country Codes. However, some of these 3-character codes aren’t countries but geographical regions or groups of countries, in addition to the actual country codes. How can you filter out rows so you are left…
Written by
-
More fun with Medium story stats, JSON, Python, Pandas, and Oracle SQL Developer Web
That’s right; I’m back again for yet another installment of this ongoing series dedicated to working with Medium.com story stats. I first introduced this topic in a previous post. Maybe you saw it. If not, you can find it here. Recap My end goal was to gather all story stats from my Medium account and…
Written by
-
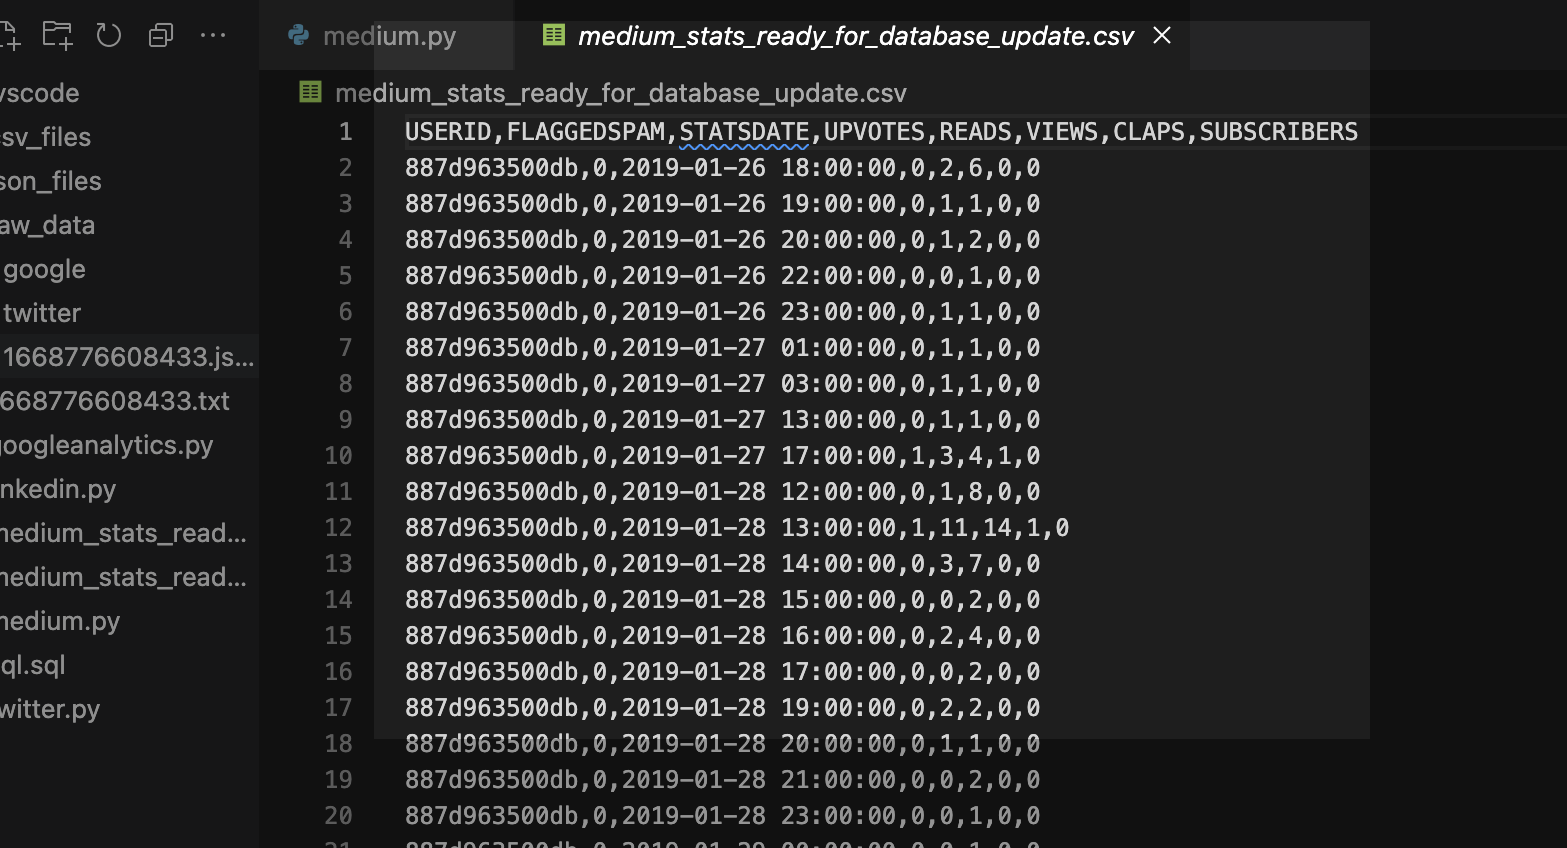
Clean up a .CSV file with Regular Expressions, Pandas, and Python
I want to load data via Database Actions in my Oracle Autonomous Database, but first I need to clean up some Dates and Times. Python is my language of choice, and I’ve heard about Regular Expressions, but I’m scared…
Written by

-
Updating VARCHAR2 fields in Oracle Database Actions
Update I’ve run into more problems with this python/flask/ords/adb app idea of mine. Turns out I’m too [developer] dumb to do some of the things that I’d originally envisioned. Now that I’ve become more familiar with python, flask, the Oracle Autonomous Database, and our Database Tools (like ORDS and Database Actions), I’m realizing that I…
Written by

-
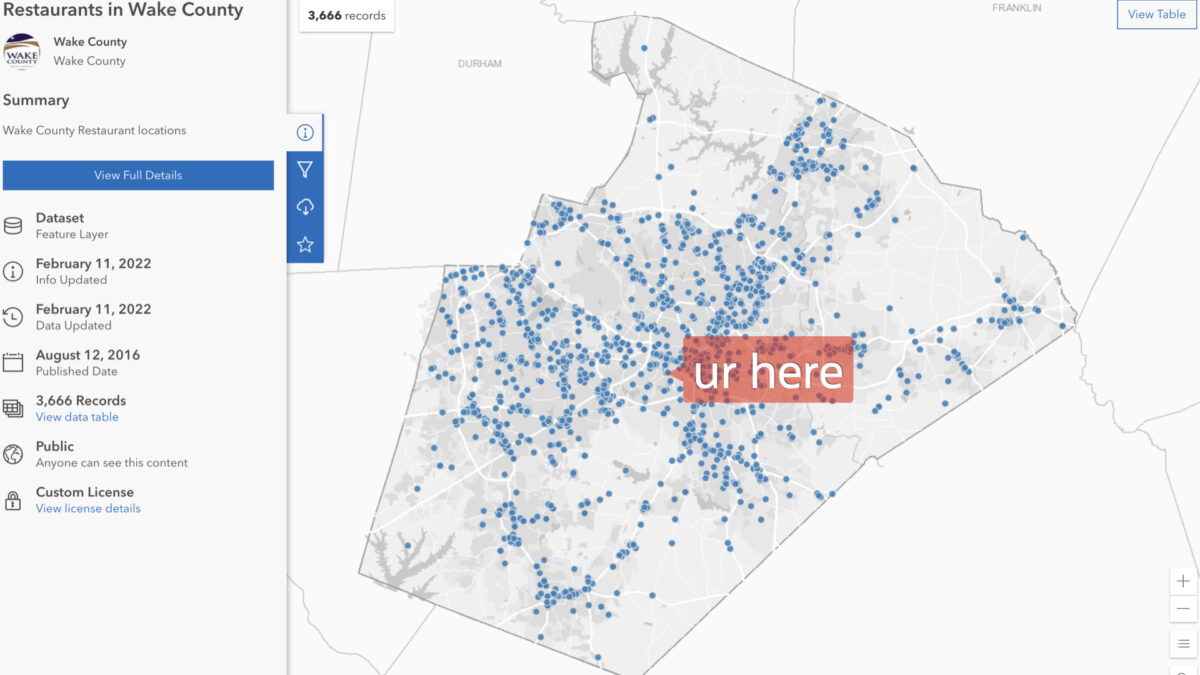
Table Prep: Data loads and time zones
With my Autonomous Database up and running,I needed to find some data to upload.
Written by