Category: REST APIs
-
From one API to another: Using ORDS Auto-REST to update a table
I think in this new age of AI/LLMs it is important to understand prompting. Eventually, whether we like it or not, we’ll all need to become “prompt engineers.” And as you’ll see in that thread, you actually have to know what you are doing to be able to ask the right questions and to challenge…
Written by

-
Troubleshooting: reviewing ORDS connections, your application server, and response times
Symptom/Issue In an internal Slack thread today, a user was trying to diagnose browser latency while attempting to connect to the ORDS landing page. Peter suggested what I thought was a pretty neat heuristic for checking connections to ORDS and your database, as well as latency. Methodology Let’s say your symptoms are either slow loading…
Written by

-
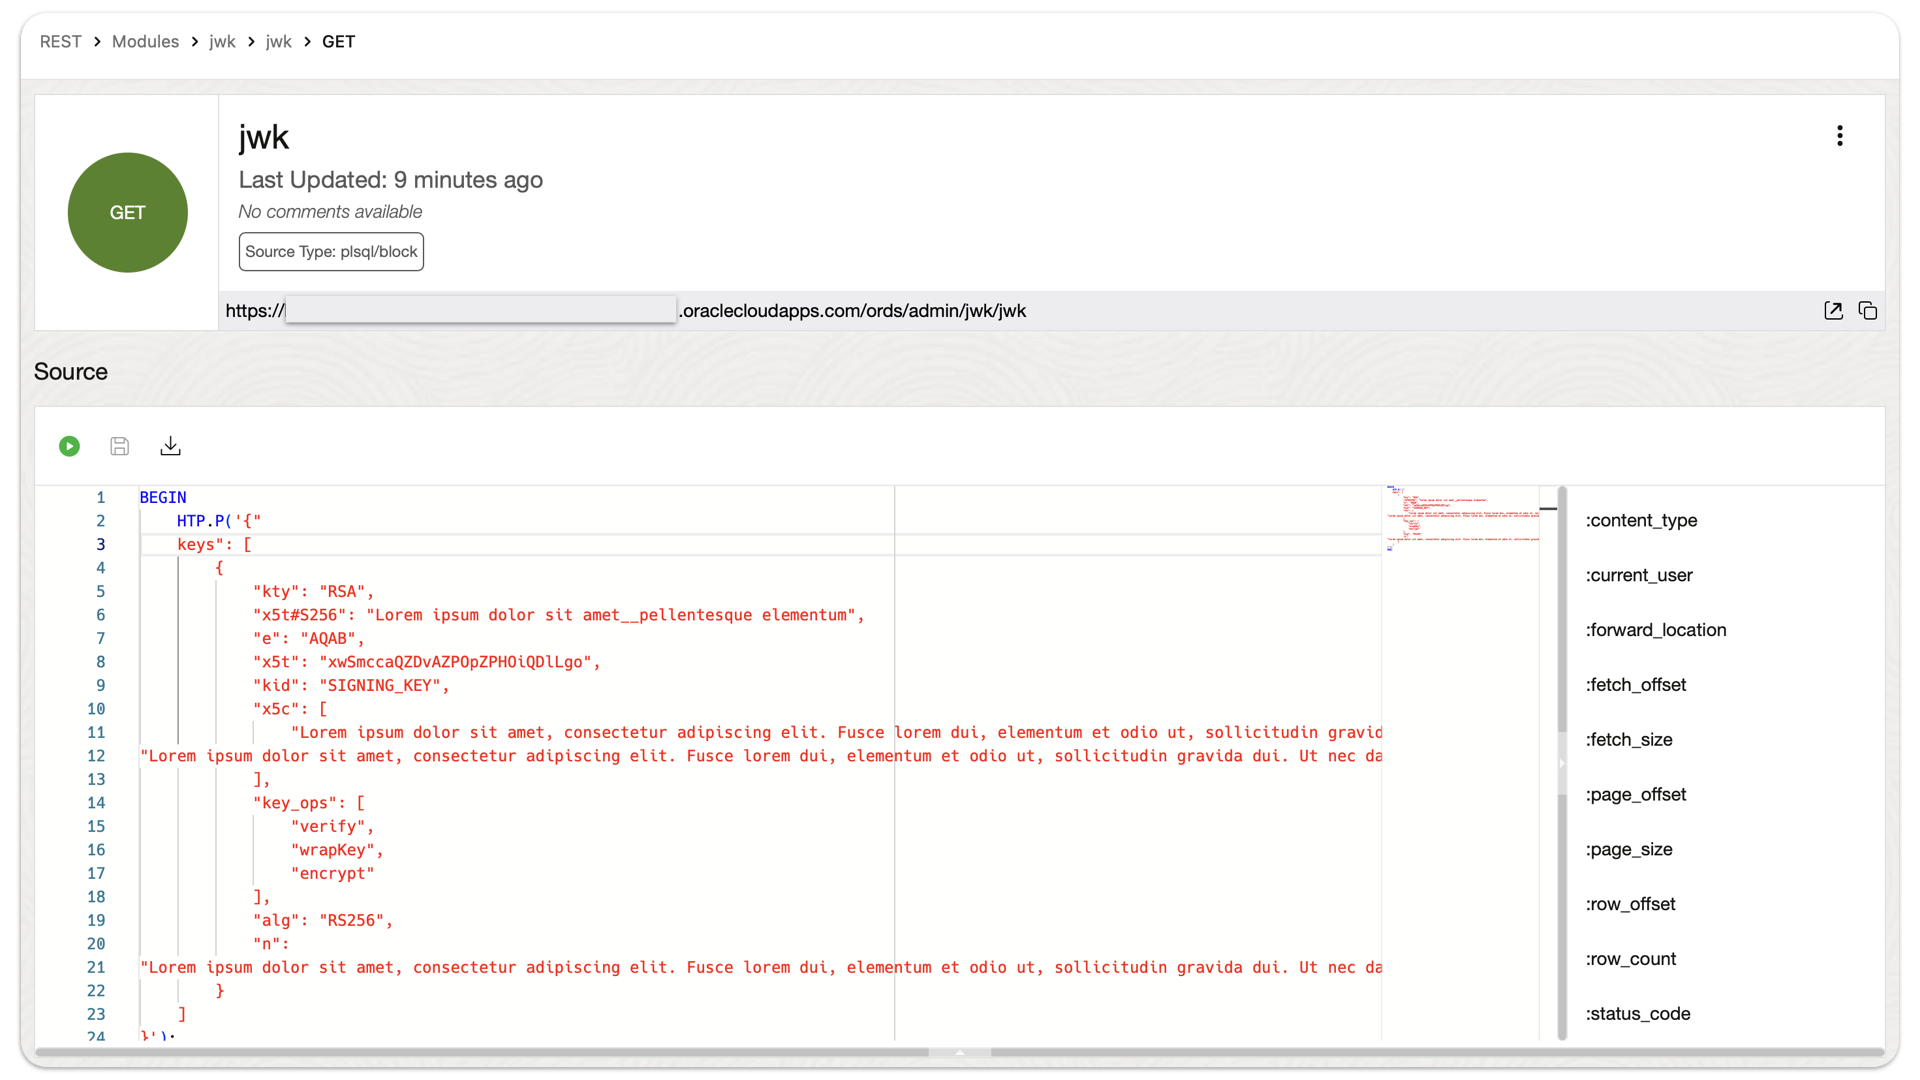
Example: an ORDS API that returns a user-configured JSON object
This actually came about from a Support Request. We were troubleshooting a JWT issue, that had ORDS in the mix. Ultimately, this is looking more and more like a networking issue (maybe something to do with routing rules between the load balancer and the backend server). But in the course of our troubleshooting, we wanted…
Written by
-
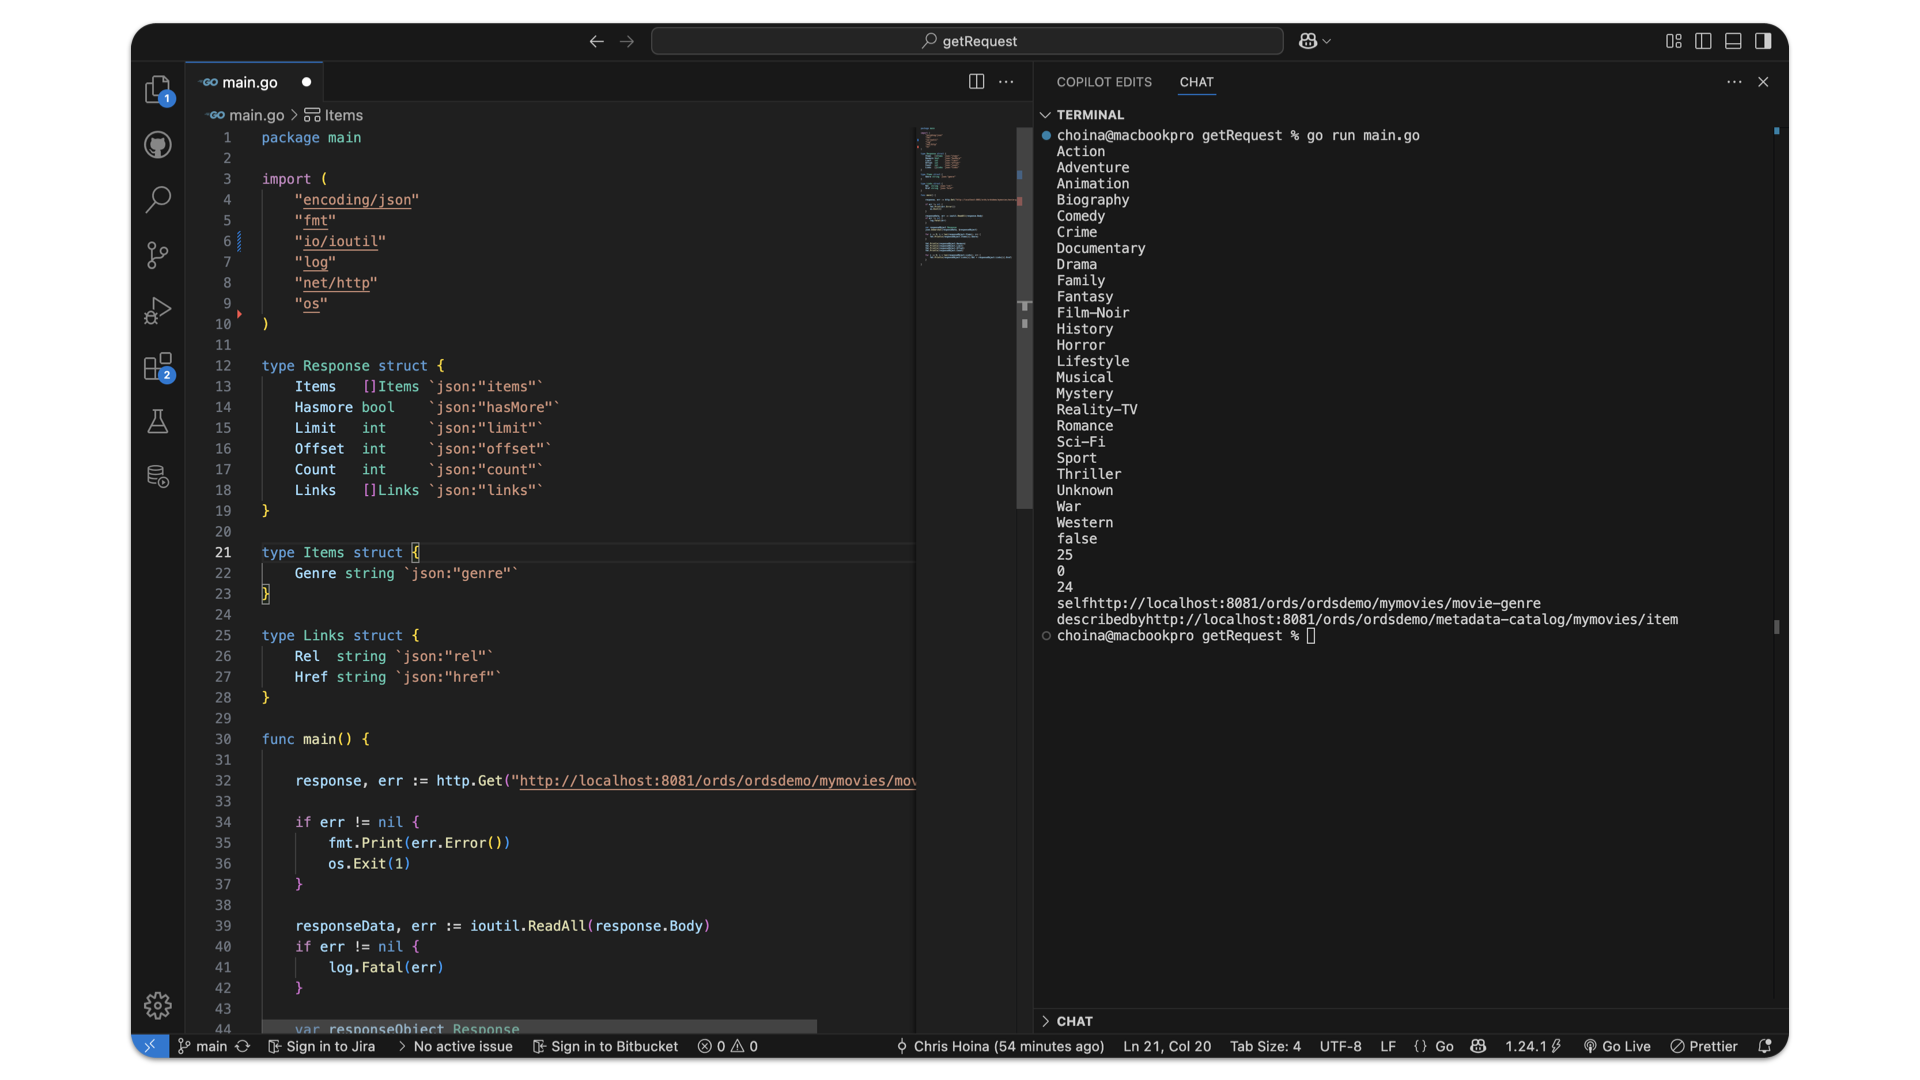
A simple ORDS GET request using the Go language
Venkata this one’s for you 😀 It took me the rest of the afternoon, but here is a pretty simple GET request example, using a user-defined ORDS API. This API is derived from one of our LiveLabs, a Python + JavaScript application. But this particular scenario pretty well exemplifies what we discussed in our presentation…
Written by
-
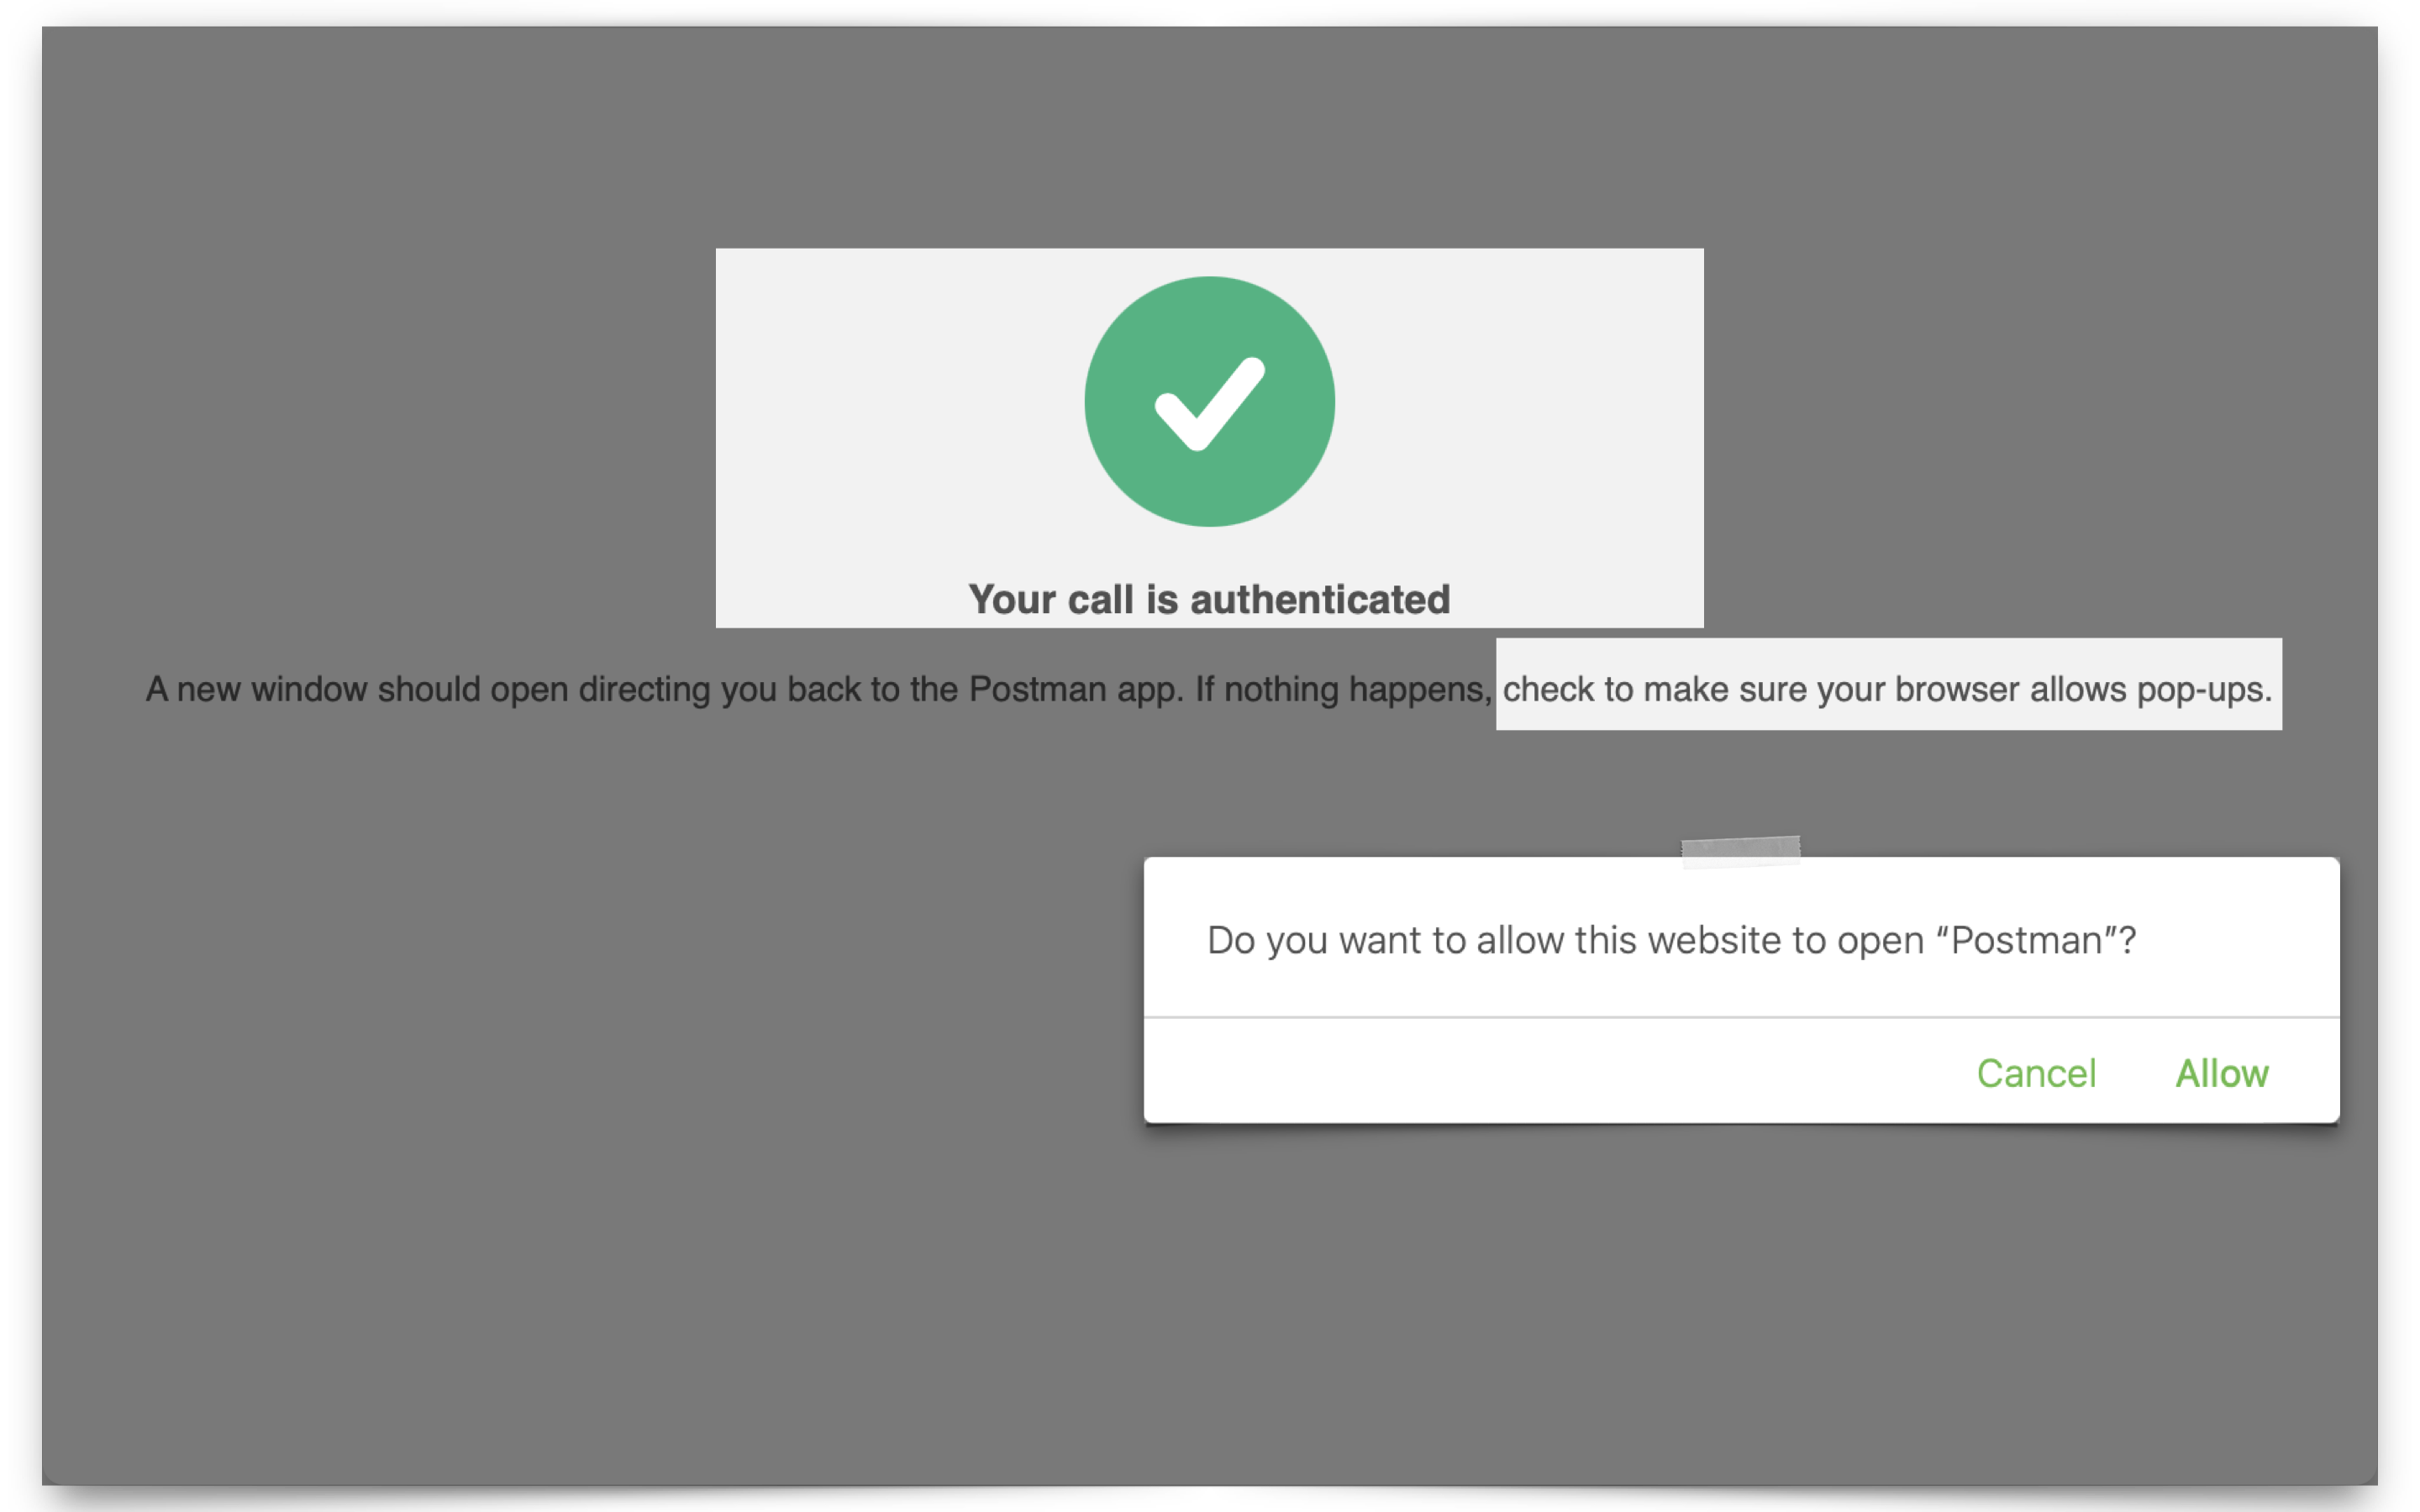
Configuring OCI IAM Domain JWTs to use with ORDS OAuth2.0 protected APIs
Table of Contents Intended Audience/Purpose Does this describe you? Creating a Domain Configure Client Access Adding an Integrated Application to the Domain Adding the application Configuring OAuth Resource server configuration Client Configuration Issuing a POST request to obtain a JWT Gathering the required values for the request Setting up Postman Requesting the JWT ORDS configuration…
Written by
-
ORDS as a JotForm webhook: An actual customer use case
Recently, we (one of our Support engineers and I) worked with a customer who had integrated various ORDS POST APIs with a web-based form application called JotForm. JotForm offers integrations for numerous workflows, some official and others you can create independently. That’s where we come in. In this example, a user would enter information into…
Written by
-
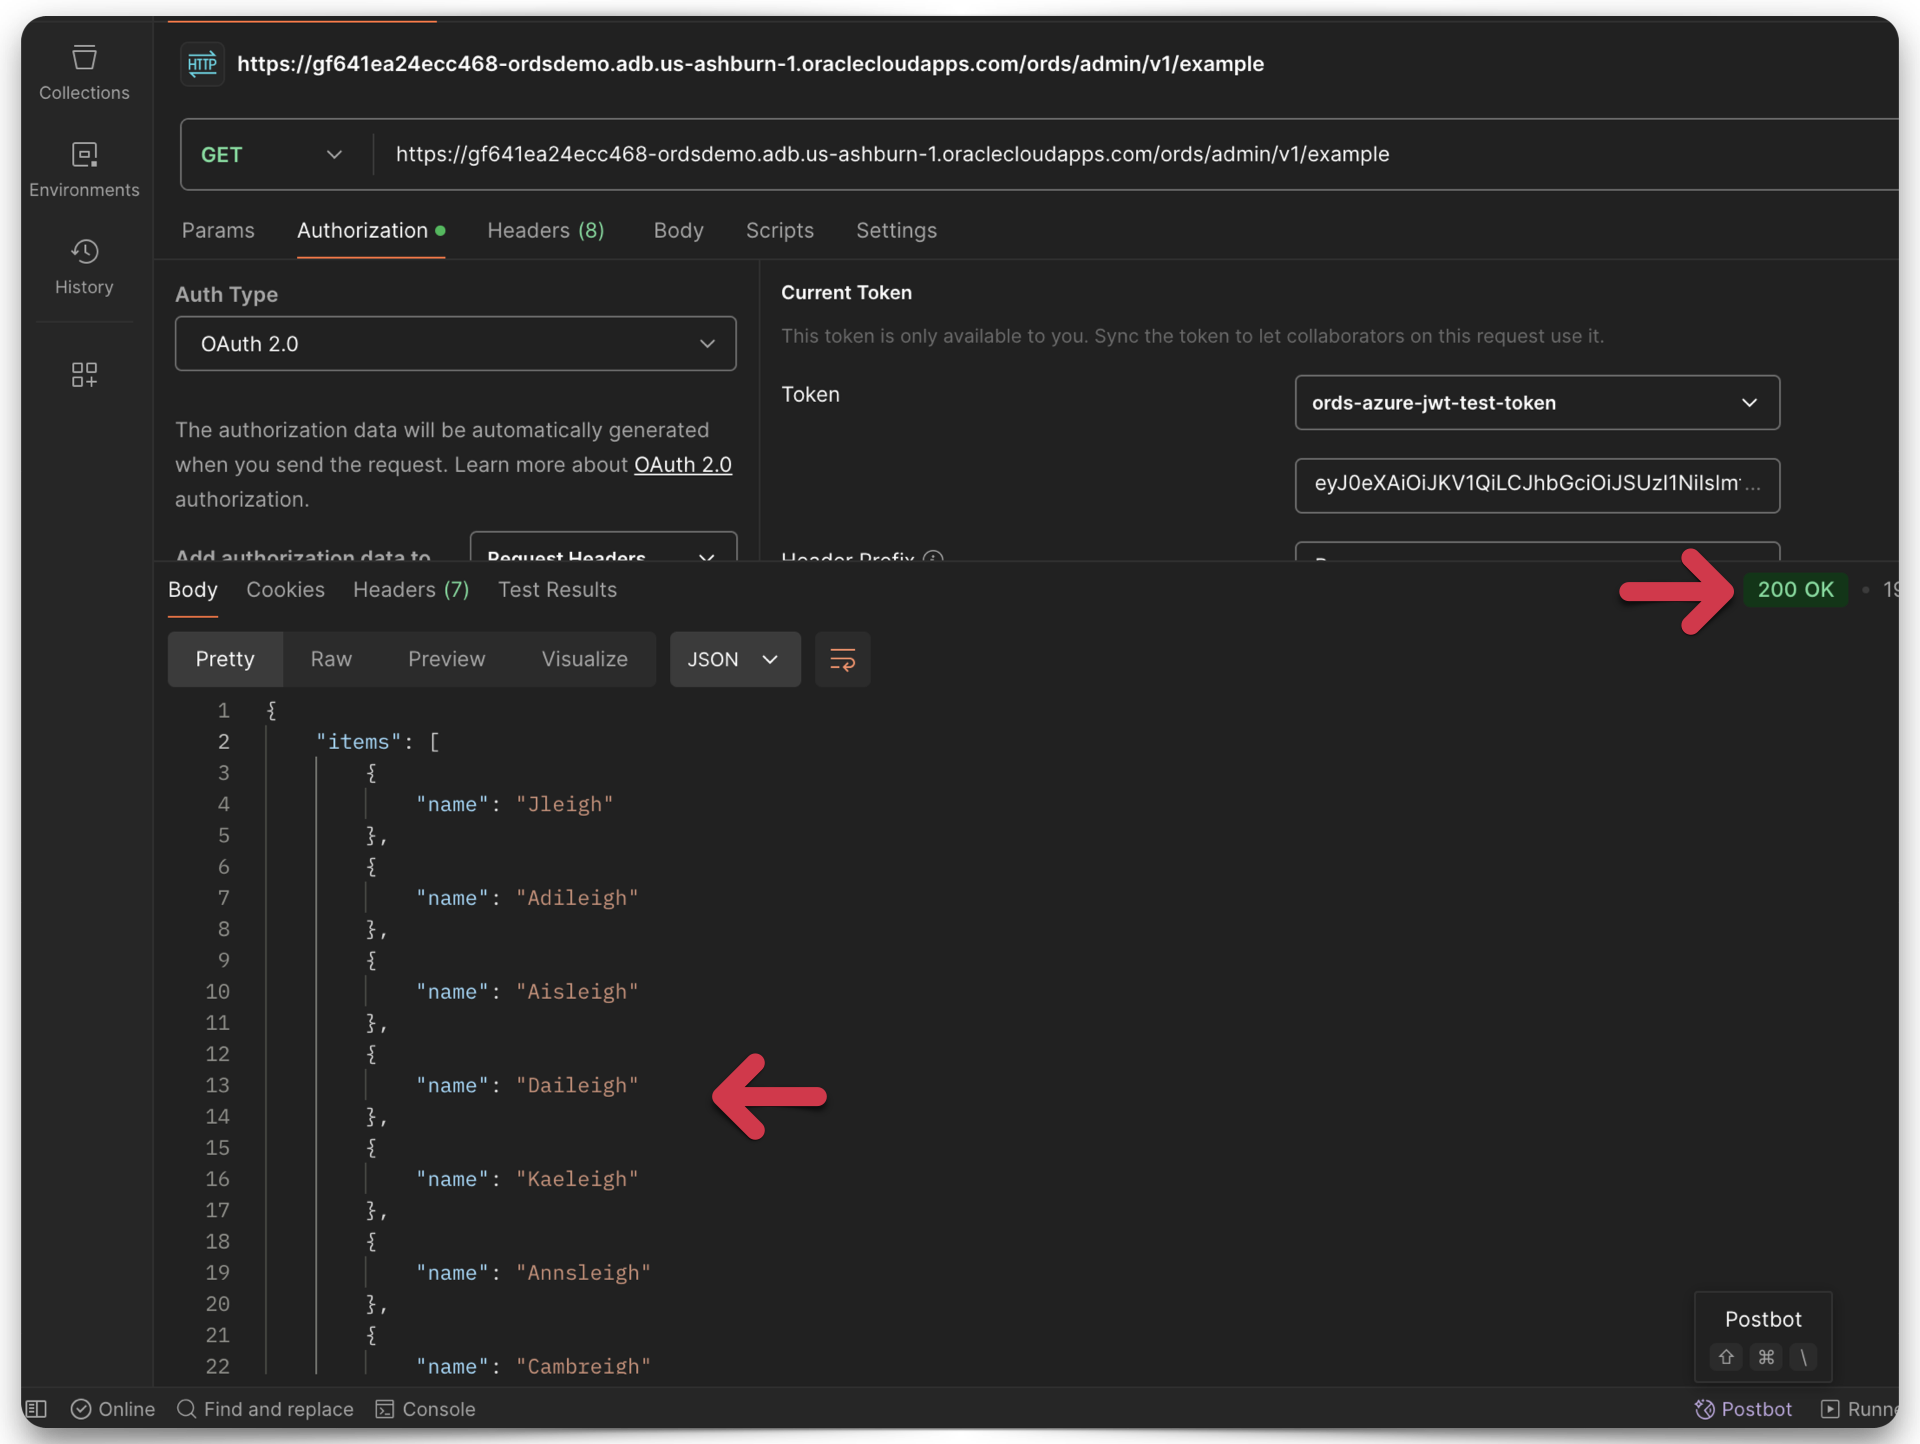
Microsoft Entra OAuth2.0 JWTs and ORDS secure APIs Tutorial: Configuration and Testing
Since ORDS first introduced support for authenticating with JWTs, there have been many questions surrounding configuration and testing. In this example, I cover, from start to finish: If this sounds like what you are looking for, then read on. There’s a lot to cover here, so there’s no faffing about on this one. Let’s go!…
Written by
-
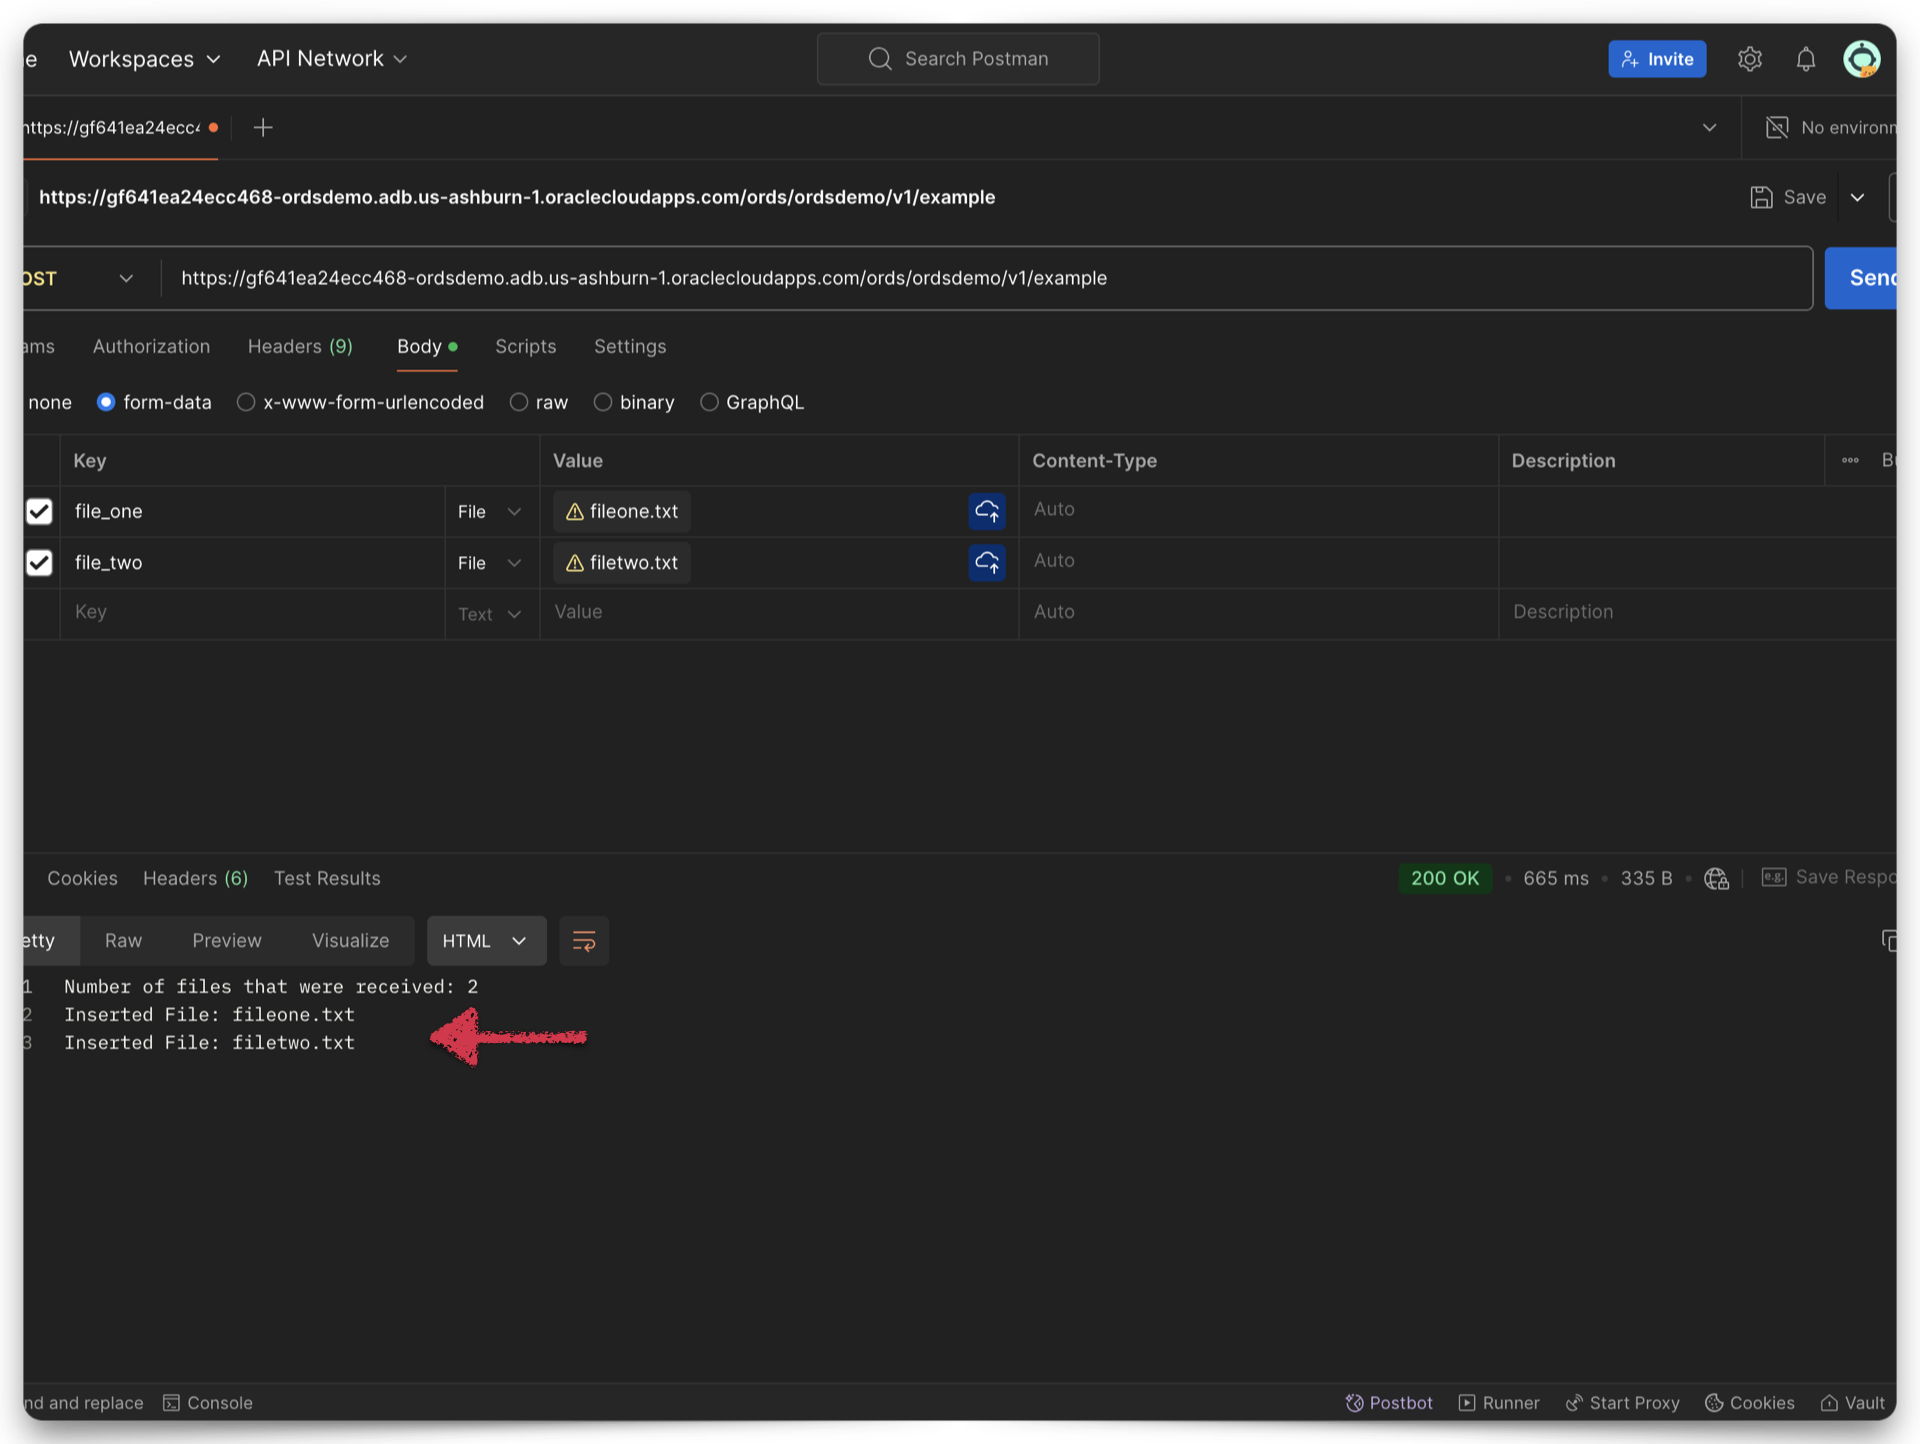
New ORDS feature: handling multiple files from a multipart/form-data POST request
A new feature An ORDS user (or application) can now upload multiple files as part of a multipart/form-data POST request under various conditions. How can this be achieved with an ORDS endpoint? NOTE: Before you continue, it might be helpful to refresh your memory on, or learn more about multipart/form-data as a Content-Type. Details here.…
Written by
-
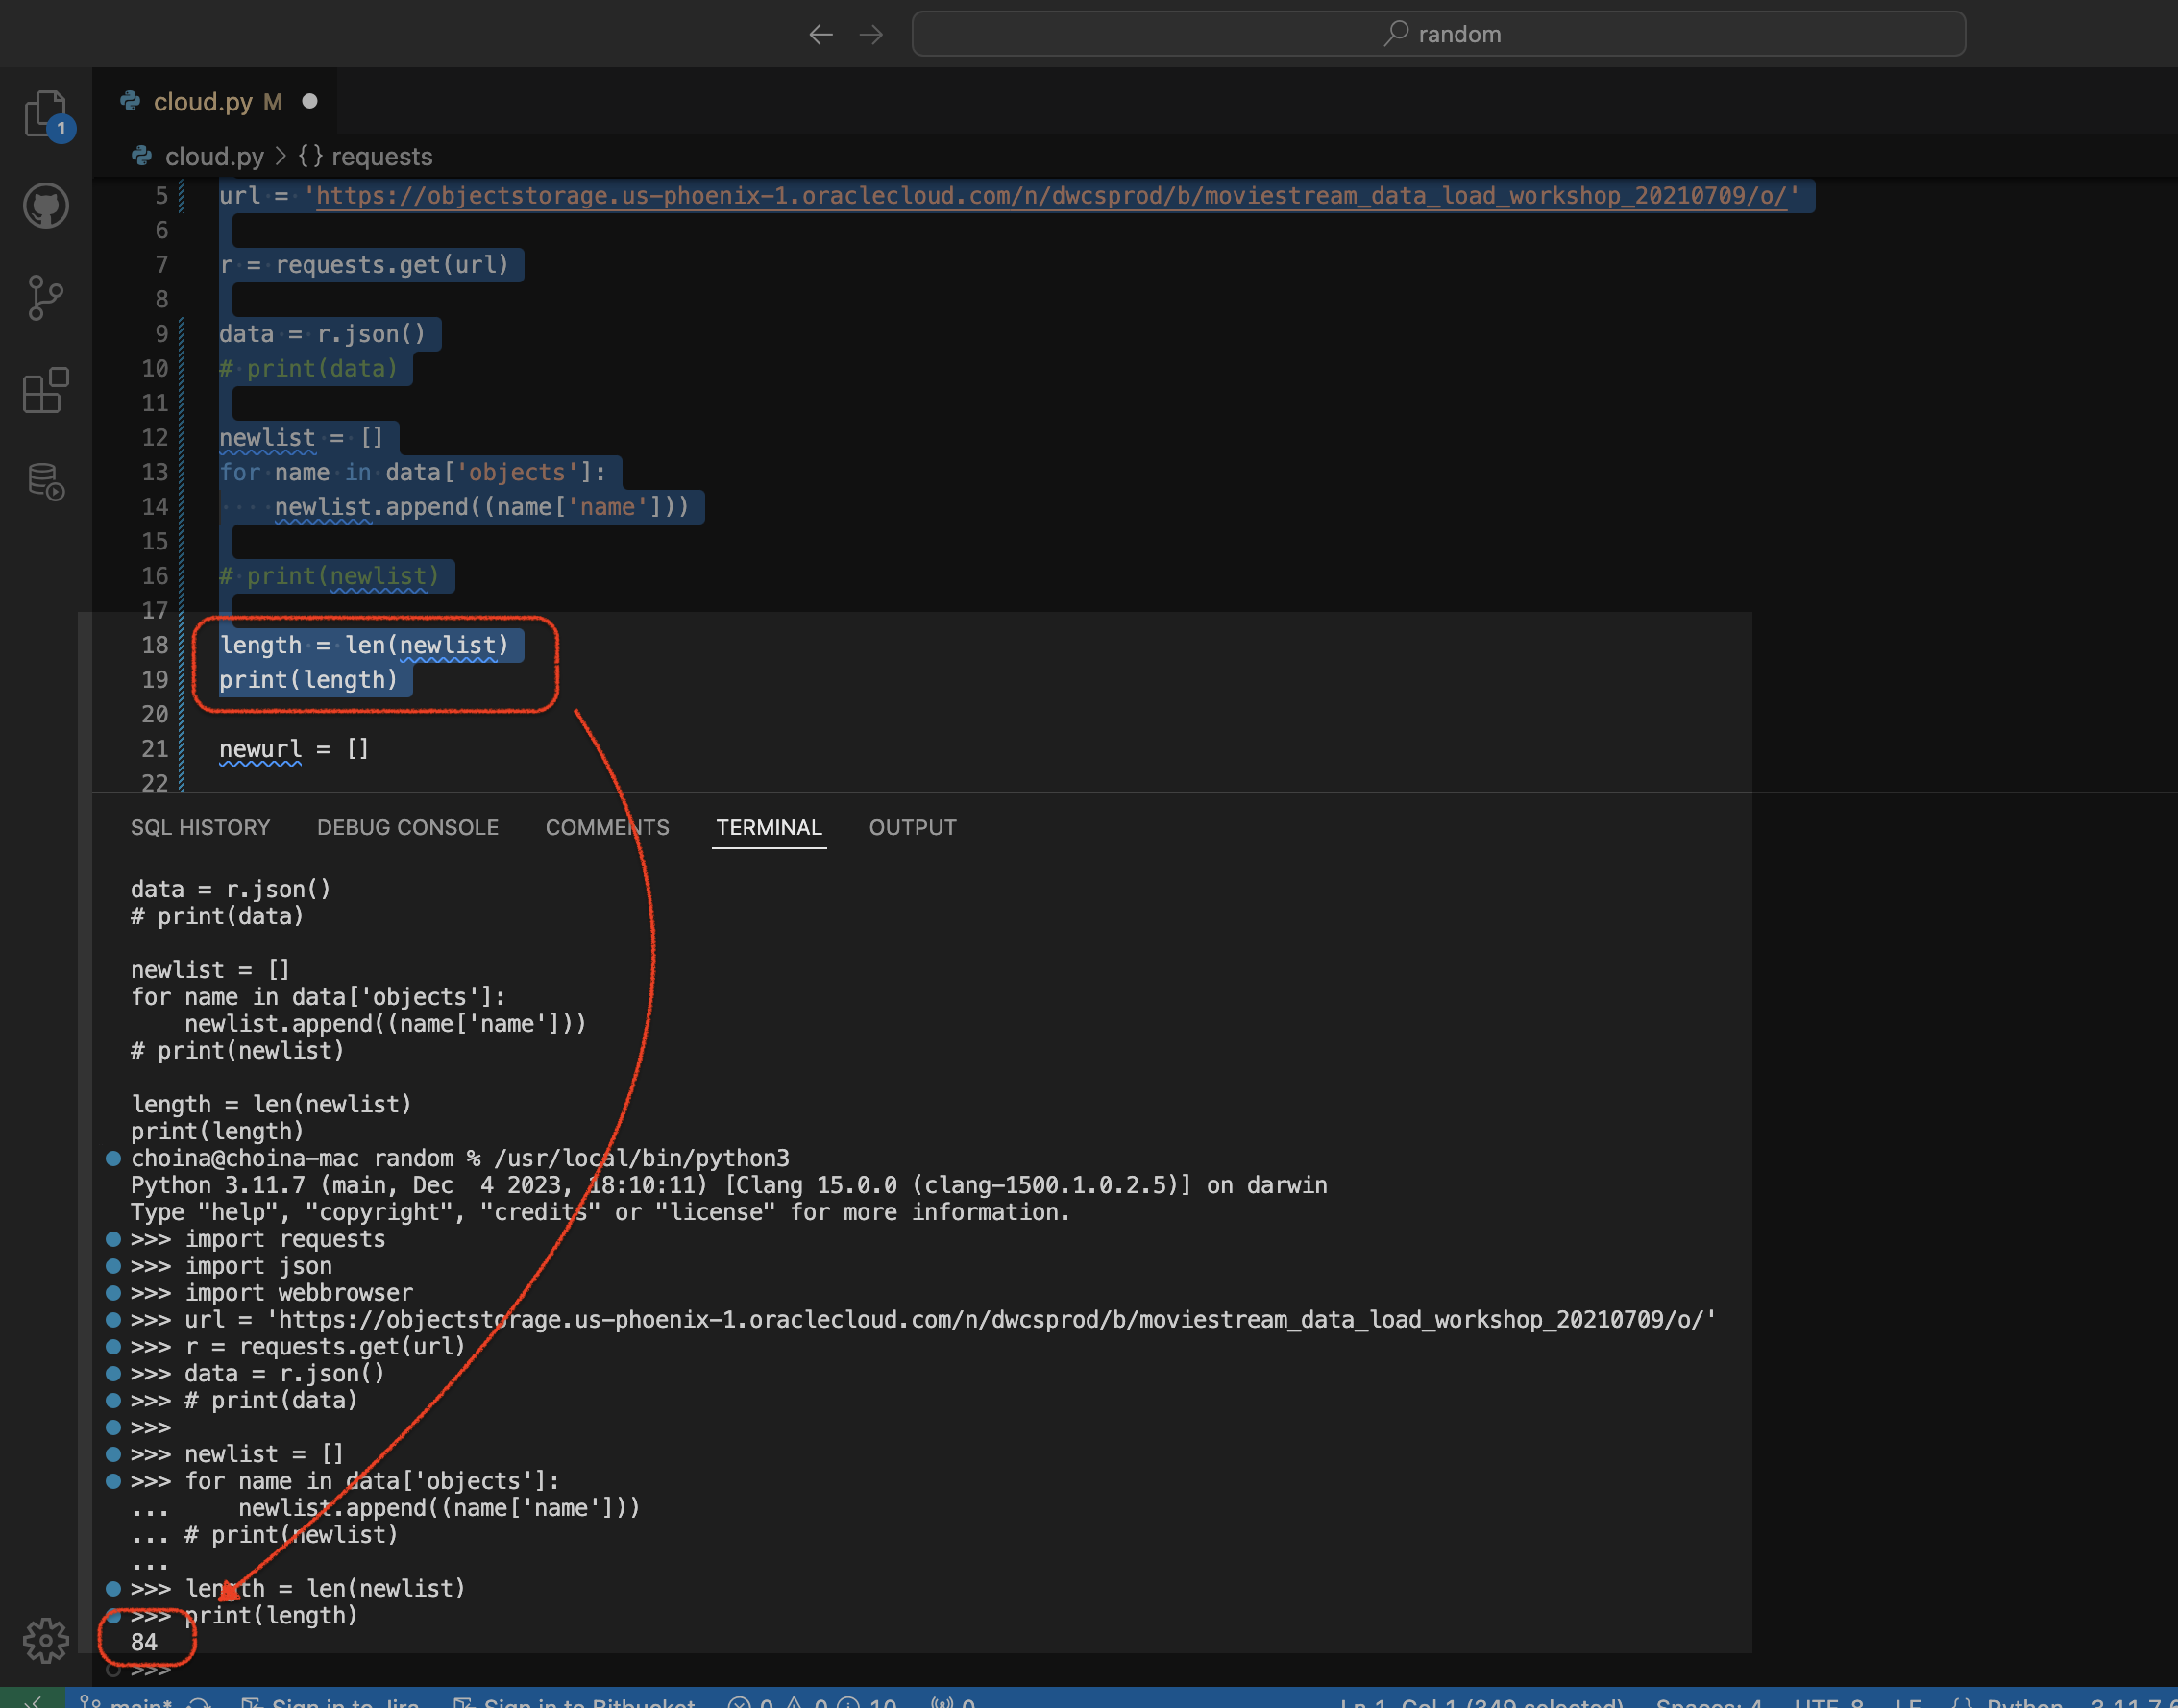
Python script to retrieve objects from Oracle Cloud Bucket
For…reasons, I needed a way to retrieve all the .CSV files in a regional bucket in Oracle Cloud Object Storage, located at this address: https://objectstorage.us-phoenix-1.oraclecloud.com/n/dwcsprod/b/moviestream_data_load_workshop_20210709/o You can visit it; we use it for one of our LiveLabs (this one), so I’m sure it will stay live for a while 😘. Once there, you’ll see all…
Written by
-
Build an ORDS API Resource Module, GET request with JavaScript fetch, display in HTML
Really trying to optimize SEO with that title 👆🏼! Recap 💡 All the code you’ll see in this post can be found in my moviestreamjs github repository.💡 This post is a continuation of a previous one, which can be found here. In this post, I’ll: If you are coming from the previous related post, then…
Written by