Category: Linux
-
Setting up SSH to GitHub git clone into your Oracle Cloud Linux Ubuntu VM with VNC
I’m trying to be as succinct as possible. I just accomplished this but couldn’t find anything that explicitly walked me through how to do it. Here are some assumptions: REMINDER: You are signed in to a Linux machine! The commands you will follow (in GitHub or here) WILL NEED TO BE FOR LINUX! What happened?…
Written by

-
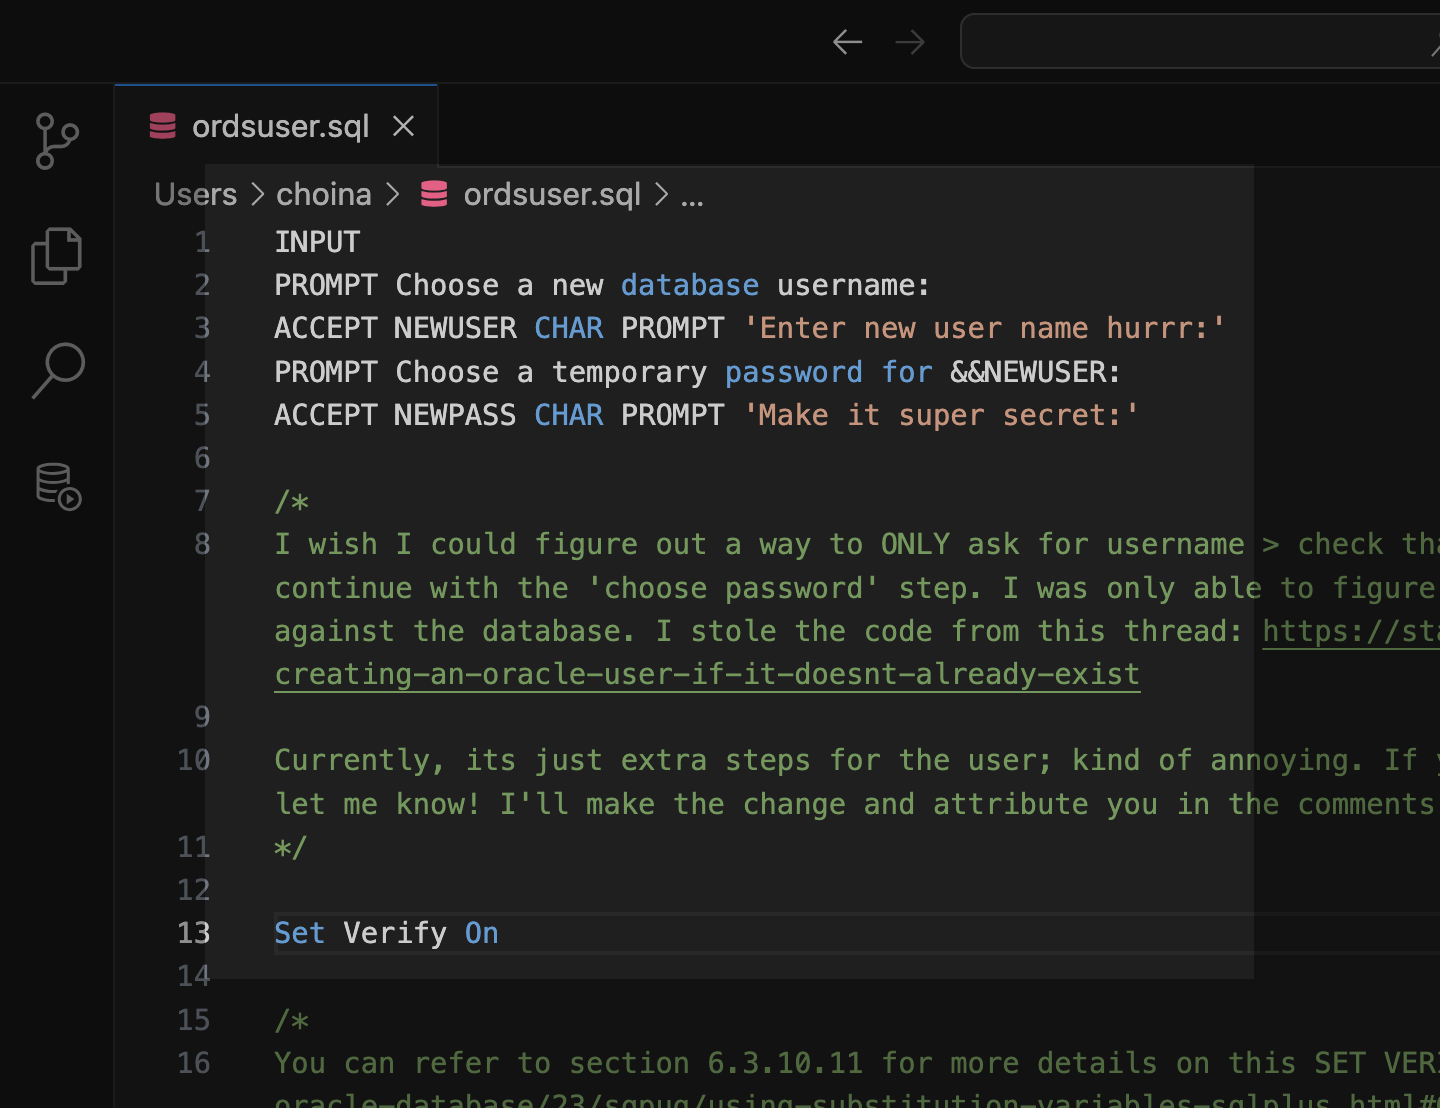
Tinkering: a SQL script for the ORDS_ADMIN.ENABLE_SCHEMA procedure
Post-ORDS installation Once you’ve installed ORDS, you need to REST-enable your schema before taking advantage of ORDS (I used to forget this step, but now it’s like second nature). RESOURCES: I’ve discussed ORDS installation here and here. I’d check both pages if you’re unfamiliar with it or want a refresher. ORDS.ENABLE_SCHEMA / ADMIN_ORDS.ENABLE_SCHEMA While logged into your…
Written by
-
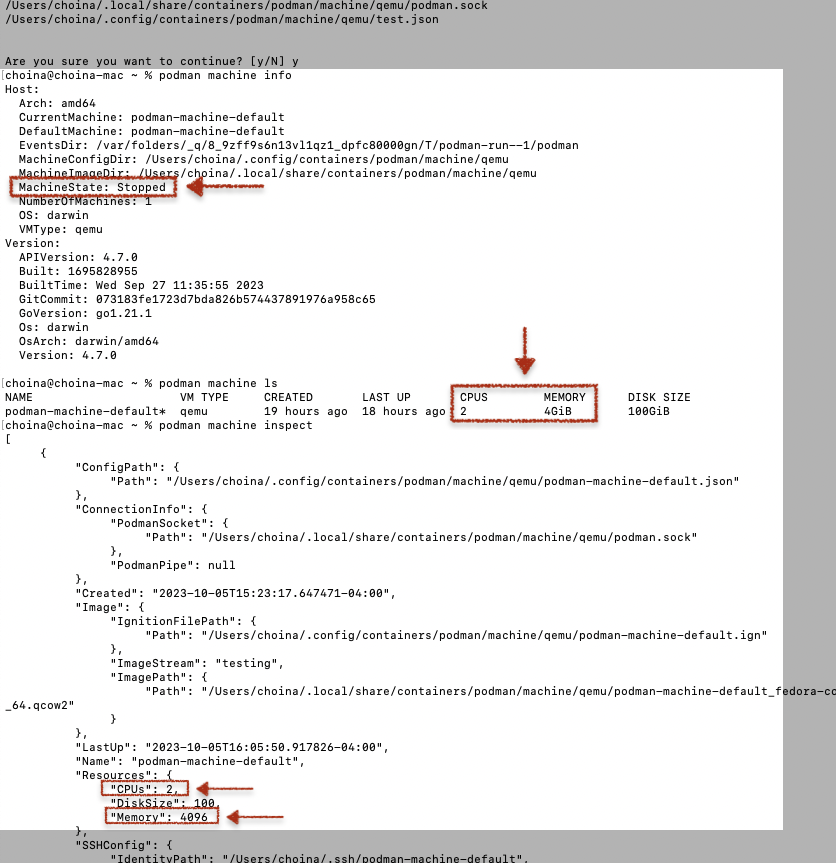
Podman container is unhealthy with Oracle database images
Problem Description You’re working with podman containers (maybe like me – the ones from the Oracle Container Registry), and when you execute the podman ps command, you see something like this in the standard output: In this case, I already had another container with an Oracle 21c database; that one was healthy. I previously wrote up a…
Written by
-
ORDS, SQLcl, APEX via YUM and DNF
TL;DR BREAKING NEWS!! APEX packages with ORDS and SQLcl now available in Oracle Linux YUM servers and through ULN The deets Here is what you need to know. We are releasing three new APEX (a.k.a. “The Artist formerly known as Oracle Application Express”) packages for the following repositories: NoARCH RPMs One more update! These RPMs…
Written by