Tag: ords install
-
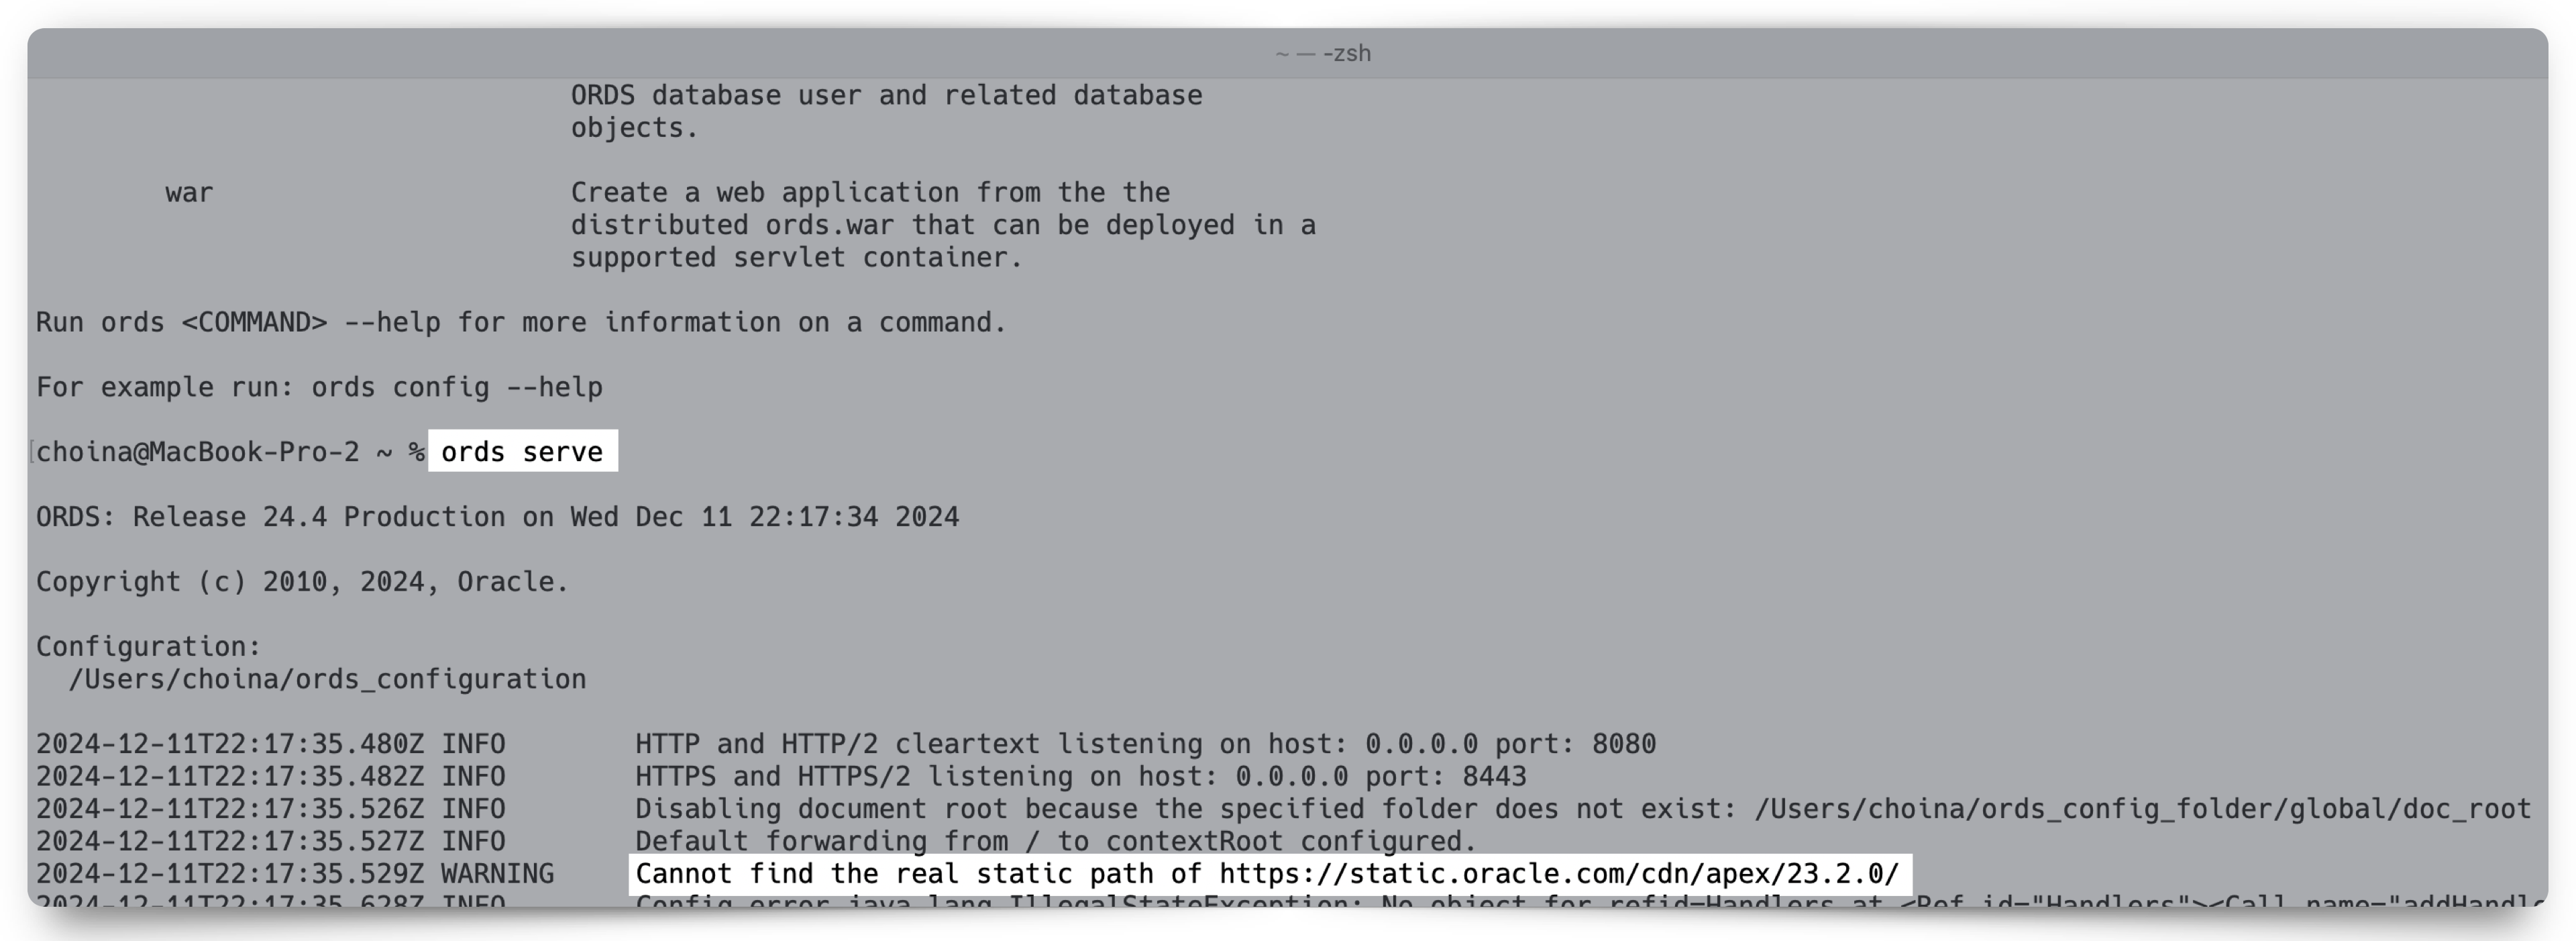
ORDS WARNING Cannot find the real static path of
Problem description You’ve just upgraded ORDS and issued the ords serve command. As ORDS is starting up, you see the following warning (or something like it): How to fix Easy! In this case, I removed the standalone.static.path property of the ORDS Global configuration settings. WAIT JUST A MINUTE! This approach was successful because I determined…
Written by
-
ORDS install considerations: choosing the correct host, port, service name, and pluggable database when the database is in a podman container
The other day, I wrote about how I had to start from scratch on my podman containers 😢. I’m now at the step where I need to reinstall ORDS in these two new database containers (21c and 23c). And since I’m doing this install yet again, I figured I would point out some things I’ve…
Written by